get 500+ free images, templates & marketing strategies! You're one click away, Don't Miss It.
Create a 3 part Instagram Post for Increased Engagement
This post may contain affiliate links. Please read the disclaimer
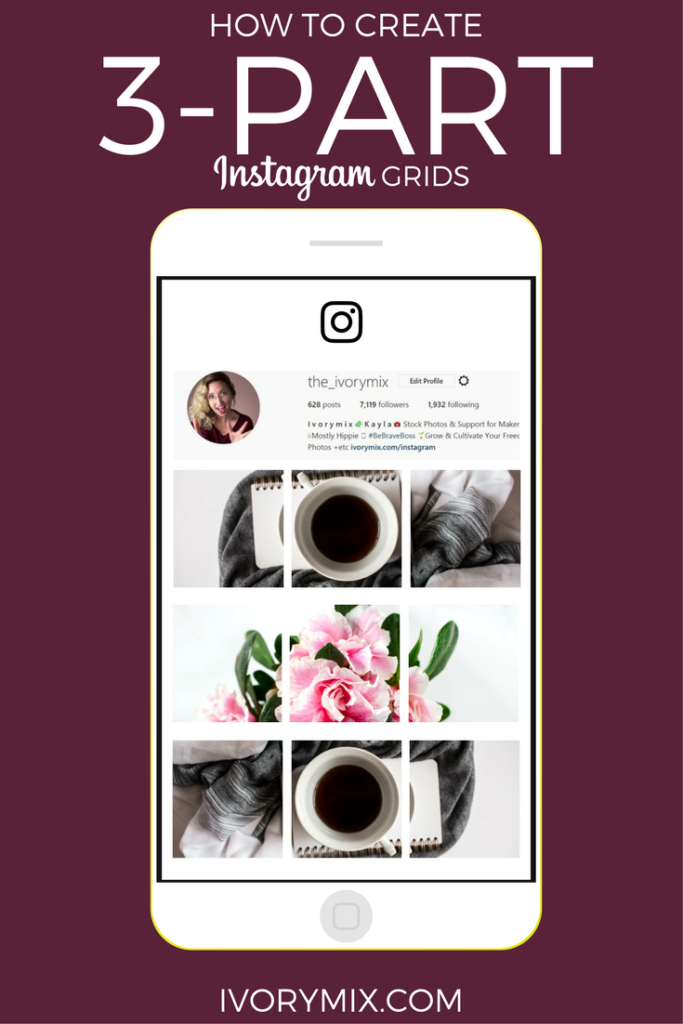
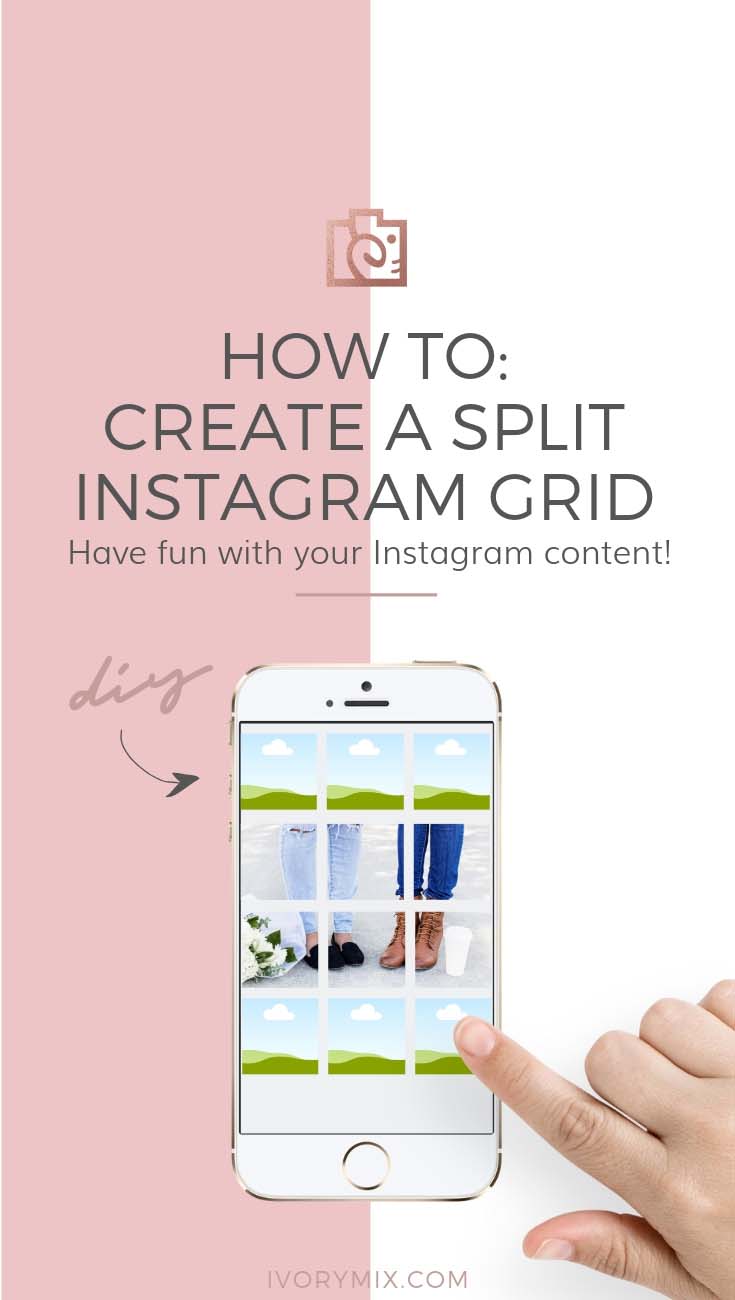
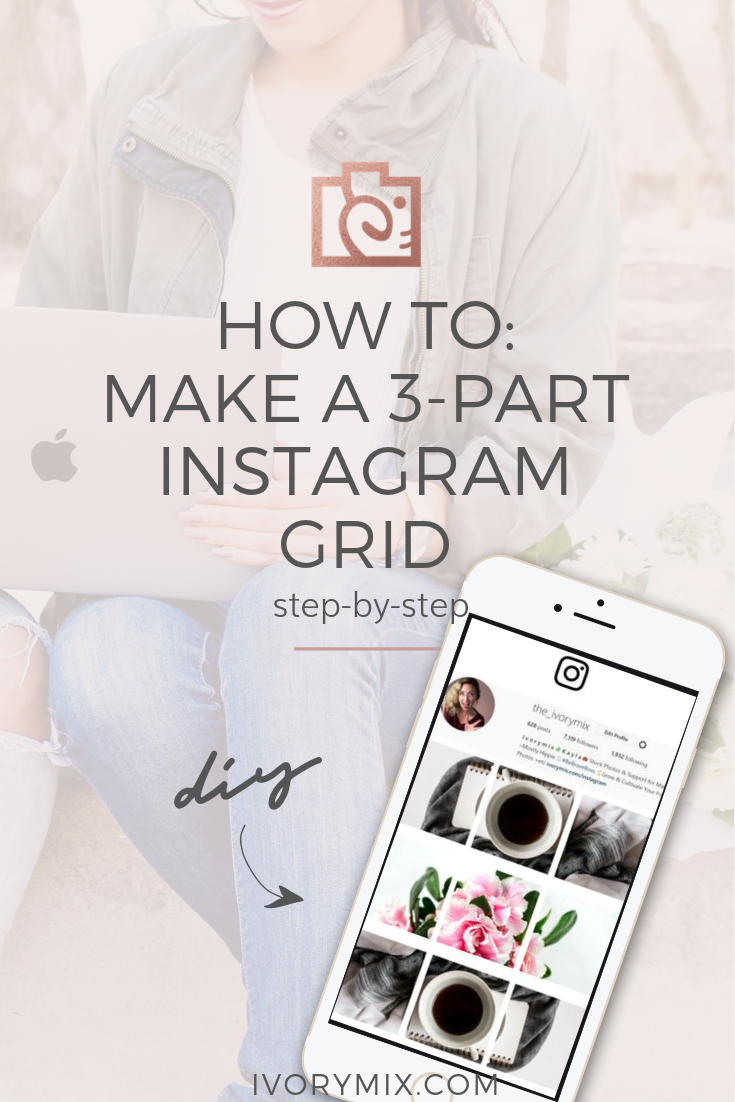

Instagram is quickly becoming my favorite social media platform for engaging with our audience. One of my favorite things for getting people engaged, starting conversations, and getting people interested in Ivory mix is by creating a 3 part Instagram post that spans the width of my Instagram feed. Since uploading my very first set of 3 photos, I’ve been getting messages and comments asking exactly how I do this. So, I’ve decided to create a quick tutorial on how you can create a 3 part Instagram post that will get people interested in your creativity and be engaging with you.
Grab this set of 3 different free Canva templatesI made for you!
Related Post: Create 30 Days of Instagram Content in 8 Simple Steps
APPs You Can Use to Create Create a 3 part Instagram Post:
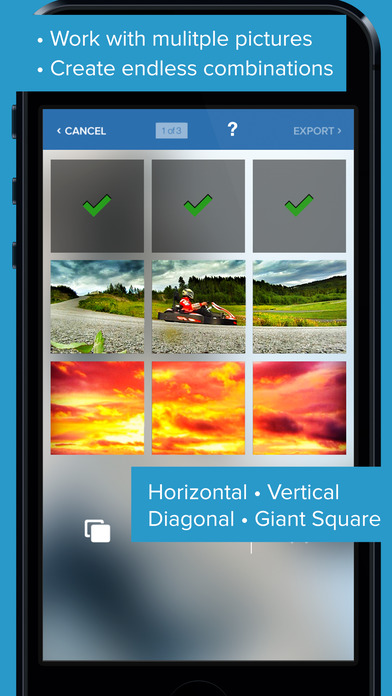
Giant Square App (iPhone)
Giant Square is the FIRST app to let you create big pictures, panorama pictures and banners on Instagram!
Giant Square is also the first app ever to let you easily create BIG collages on Twitter!
It also let you avoid cropping your pictures on Instagram with our Square editor that let you avoid cropping panorama pictures when uploading them to Instagram.
MAIN FEATURES:
1) Let’s you work with MULTIPLE pictures at the same time
2) Is completely FREE to use ALL our features
3) Has a unique label maker to help number your pictures in your gallery
4) Provides you with advanced collage editor for Instagram, Twitter and Facebook
5) Has a square editor!
Related Post: How to create an Instagram Puzzle Feed
Instagrids (Android)
GRIDS FOR INSTAGRAM
With this app, you can crop your pictures into 3×1, 3×2, 3×3, 3×4, 3×5 grids and upload directly to Instagram.
MAIN FEATURES:
★ Crop any picture into 3×1, 3×2, 3×3, 3×4, 3×5 grids
★ High resolution images
★ Post images directly to Instagram
★ Save to SDCard
★ Very simple and easy to use
PhotoGrid (iPhone)
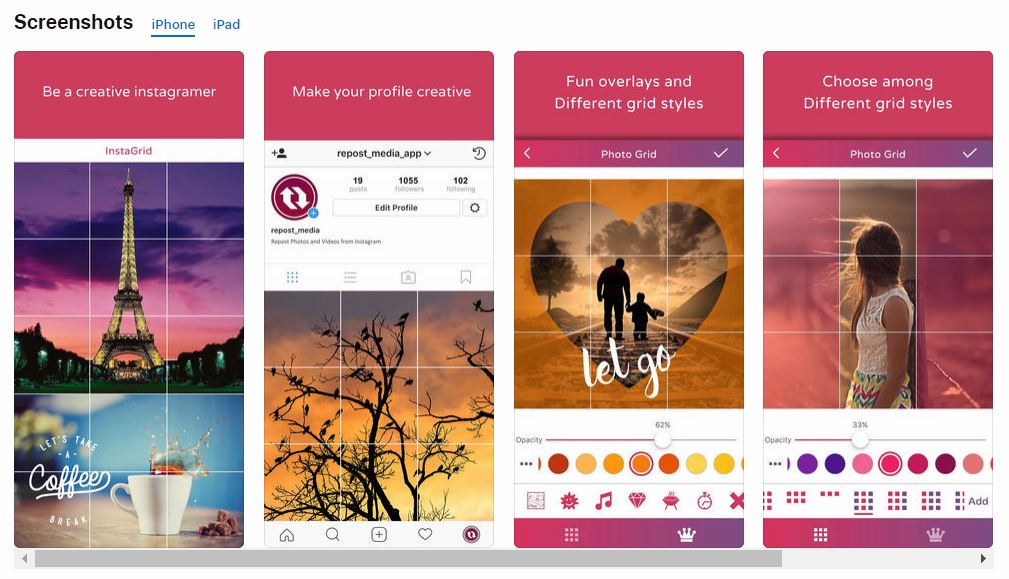
PhotoGrids app allows you to split(crop) your large rectangular photos into a number of square pics and upload them to Instagram and impress your friends and your profile page visitors!
Features :
1. You can make 5 type of grids: 3X5, 3X4, 3X3, 3X2 and 3X1
2. App allows you to add fun overlays and different grid styles.
3. You can also apply different colors on overlays and grid styles.
4. Zoom or move your photo
5. App will suggest you ordering so you can easily upload one by one image.
6. Create big pictures and banner pictures on Instagram.
7. Photo grid is the fast and easy giant square maker
Download now and have a fun!
9Square (Android)
MAIN FEATURES:
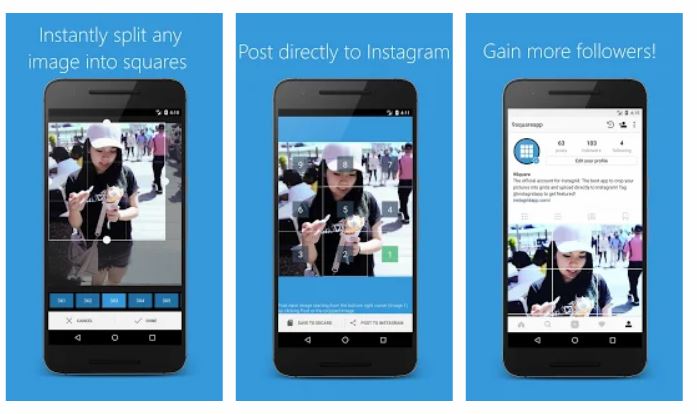
★ Crop any picture into 3×1, 3×2, 3×3, 3×4, 3×5 grids
★ High resolution images
★ Post images directly to Instagram
★ Save to SDCard
★ Very simple and easy to use
TIP: Use 9Square + Canva App to Create a Puzzle Grid
Another interesting option is the use of two apps together to create those Puzzle Instagram grids you may have seen. I go in-depth on how to do this here with a full tutorial.
Want to do a 3 part grid without an app?
Try this free desktop software:
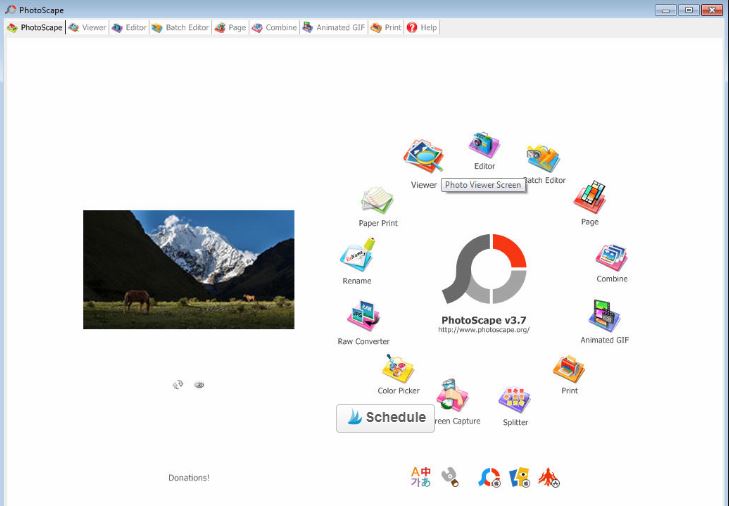
PhotoScape or PhotoscapeX (Mac/Win10)
The main feature you’ll want is called the “Splitter” – it helps you Slice a photo into several pieces
Desktop Tools Needed to Create a 3 part Instagram Post:
- Camera or Graphic Software like Canva.com
- Laptop / desktop computer
- Image editing software (I use a free tool called PhotoScape or Photoscape X)
- Access to email on your laptop & on your smart phone
- Smart Phone
- Instagram App
Here’s a video showing how the splitter works in Photoscape:
Step 1 – Pick an image that looks good cropped in a 3 x 1 ratio:
Using your camera or Canva.com, take or create an image that you want to post to Instagram. The image you pick should look good in a 3 x 1 ratio. This means it will be 3 times wider than it is tall.
Step 2 – Crop the image 3 x 1 and Save a copy:
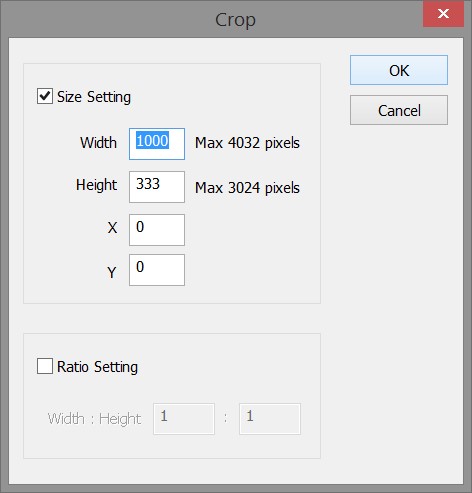
Using your photo editing software on your laptop or your desktop computer, you’ll want to crop the image down to a 3 x 1 ratio. I have been using PhotoScape for at least 5 years for editing all my photos. I’m not affiliated with them in any way. I’ve just found that their software has many of the tools I need to add filters, crop, touch up, and more.
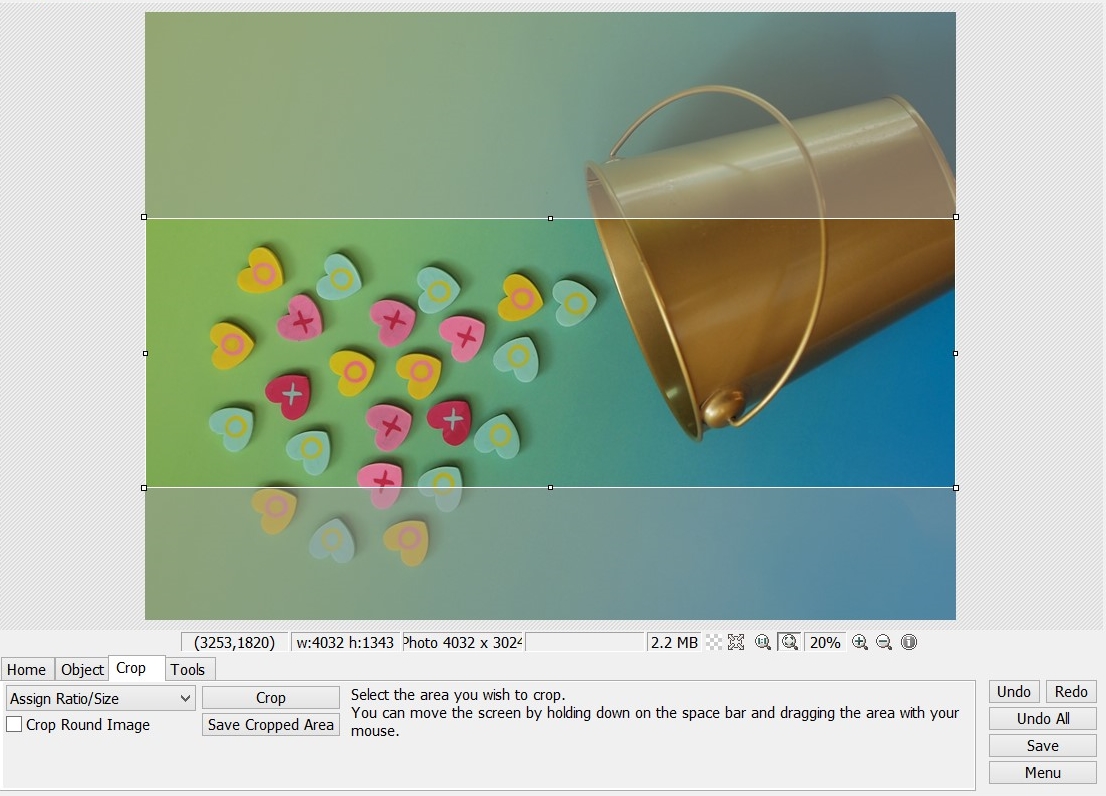
The 3 x 1 ratio I used every time is 1000 pixels by 333 pixels. See the screenshot image below for what I mean.
Step 3 – Use the image splitter to split your newly cropped image into 3 equal parts:
I’m not sure of any other software and if they have the splitting capabilities, but PhotoScape has a splitting tool specifically for this function.

Once the splitter is open, you’ll want to add the photo you just cropped with a 3 x 1 ratio. Then, let the splitter tool know that you want this image to be split into 3 different images across its width and just 1 image tall. See the screenshot below to see more about what I mean.

Step 4 – Save your images in the order you will upload them
The trick with the 3 part Instagram post is making sure you upload the 3 images in a backward order. Once you’ve saved the individual split images onto your computer, you will want to rename them in the order you will upload them in to reduce any confusion when you go to do it. If you’re the type of person who schedules their Instagram posts a few days in advance, then renaming your image files in the order you want to upload them will come in handy so you don’t forget!

Step 5 – Email your images to yourself with the caption and hashtags you want to use.
I’ve attempted to use Instagram scheduling apps, but have yet to find one that I’m extremely happy with. That said, you can always email your images and post caption with your hashtags, and reference the email when you want (using your email app on your phone) on the day you want to upload to Instagram. If I’m scheduling my posts for the week, I may send myself 7 emails.
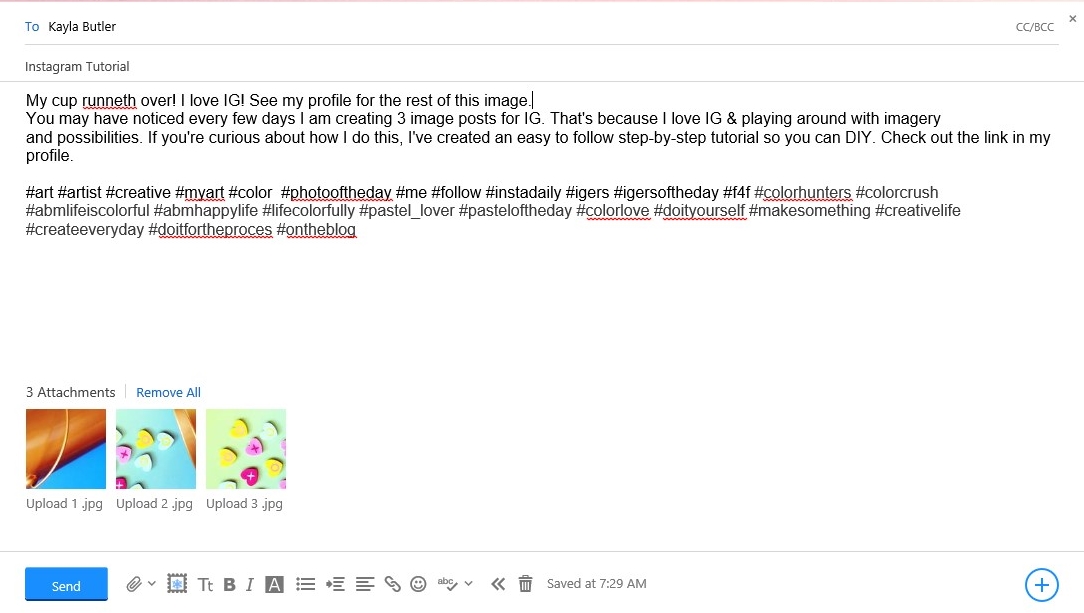
Step 6 – Download the images and copy/paste the text.
When it’s time to upload your 3 part Instagram post, you’ll simply download the images from your email, and copy and paste the text for immediate use.
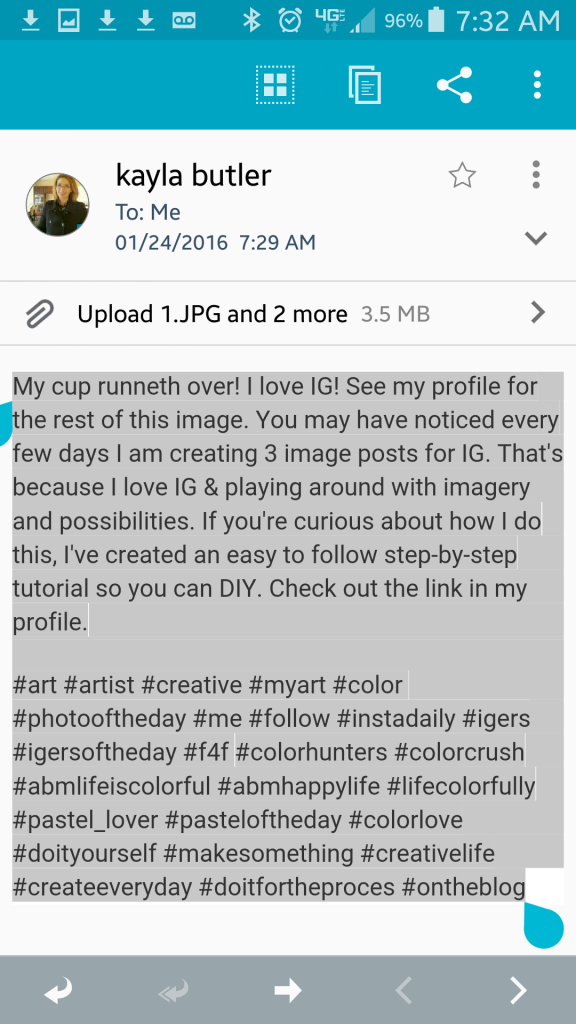
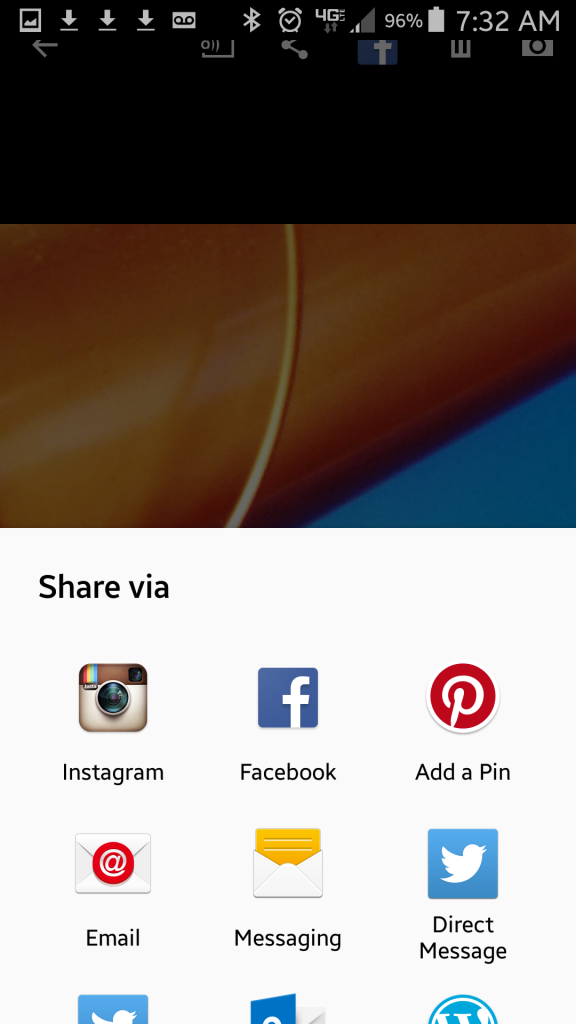
Start uploading your images in the correct order. You’ll want to post them consecutively (one right after the other). Don’t forget to use the text you copied from your email to post with each image. I like to encourage people to see my profile for the entire image. This helps get people to your entire Instagram feed and from there, they are more likely to click the follow button and like or comment on more images from your feed.
Step 7 – Watch your follows, likes, and comments come in well after you’ve posted
One of the best reasons to do a 3 part Instagram post every few days is because it peeks a new followers interest when they are checking out your feed. People seem to feel something when they see these and will continue to comment and like your old 3 part posts well after you’ve posted them.
Have fun with this! I can’t wait to see what you come up with.
NEED DESIGN HELP WITH THIS?
Grab this set of 3 different free Canva templatesI made for you!
CHECK OUT THESE OTHER ARTICLES TOO:
- How to create an Instagram Puzzle Feed
- How to style flatlays for marketing your blog
- Find out the best times to post on Instagram for maximum engagement
- Your top questions answered about Instagram
- Why you should create an Instagram Challenge, and how
- Instagram and Blog Photo Ideas
- How to hack the Instagram Algorithm

Included Free:
550+ Templates, Photos, & Strategies
Get New Free Downloads Monthly
Unlimited Downloads
Special offers & Trends Newsletter
Save and sort your favorites
Access 500+ Free Templates, Photos, & Strategies With A Free Account
Free User Creation for Popup
By creating an account, I agree to Ivory Mix's Website terms, Privacy Policy and Licensing Terms
Already have an account? Log in


