get 500+ free images, templates & marketing strategies! You're one click away, Don't Miss It.
A Step By Step Guide to Creating Your First Online Course
This post may contain affiliate links. Please read the disclaimer

Launching an online course is becoming more popular for content creators and for good reason! Courses enable creative experts, bloggers, small business owners, and entrepreneurs to monetize their skills and create a reliable income stream.
If the thought of launching your own online course sounds exciting, but you’re confused about where to start, I’m about to deliver the answer to your prayers!
In this post, I’m sharing an action plan that will help you move forward in creating your first online course. We’ll cover how to create a profitable course from the ground up and how to market and sell it for BIG profits.
The overall concept of an online course is simple. Courses allow you to :
- Teach a topic
- Serve your audience by helping them solve a problem
- Transform your students’ lives
Online courses have given my own business a HUGE boost in revenue. I launched my first in 2016 using the Teachable platform. Once I learned the ropes, I really leaned in and created a course that did 15k! To date, my total course revenue is $86k. I now make between $50 and $400 per day in online course sales without running ads or hosting live launches. (Most of my courses are inexpensive mini-courses that run between $22-44 apiece.)
Why an Online Course?
We live in a world of easily accessible information. Pretty much anything you want to know can be found with the proper amount of research. So why would someone buy a course when they can just google for the info or binge-watch Youtube?
Because time is money.
Online courses save students time. Students don’t have to fall down the internet rabbit hole and deal with information overload. With an online course, they can feel confident in the information they are consuming. They understand the course content is trustworthy — that it comes from someone who has more expertise than they have.
In addition, students are looking for proven blueprints and shortcuts to achieve a goal. They don’t want to have to search high and low, they want all the information packaged in an easy-to-digest format.
Course Creation for Service Providers
Do you hear the same questions over and over from clients in your service-based business? Even if you’re a service provider, scaling your business through an online course is completely attainable. Answering the questions your clients ask and packaging them as an online course is a smart way to help more people and make more money.
If you have a skill that others need to know, you really can package your knowledge and expertise for profit! Start by defining the problems your audience has and create your course to be the solution for those problems.
Having been both a student and a course creator here is my step by step guide on how to create your first online course. Following these steps will help you quickly create a course which delivers results to your students whilst giving you amazing testimonials.
Step One: Choose Your Topic
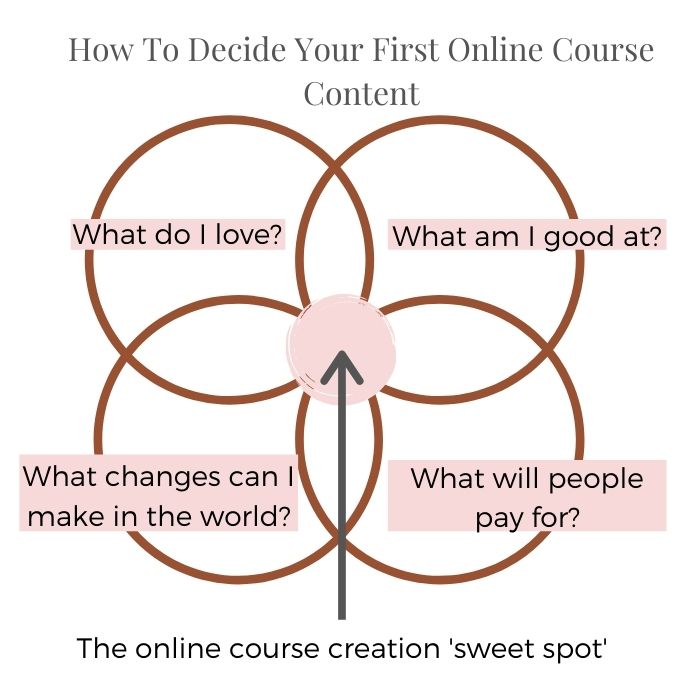
Start by asking yourself :
- What do I love?
- What am I good at?
- What will people pay for?
- What changes can I make in the world?
Now that you’ve gathered some ideas for course topics, it’s important to validate your plan. Talk to your audience to see if they respond well to your idea.
Customize your course topics based on real feedback and real questions by real students. The goal of your course content is to give your students results. What results do you want them to achieve? Be specific. Start with the end in mind and work backward.
Remember, a paid course solves a valuable problem. Your audience won’t pay for something that can be easily obtained for free. They WILL pay to have someone help them connect the dots to a complicated problem. When you give them shortcuts and show them how to make changes PLUS offer them a community for support, you’ve found your sweet spot!
Step 2: Create Your Course
When structuring your course, begin with an intro and tell your audience straight away exactly what they need to do to be successful.
Then create your outline, sticking to 1-2 topics per lesson. This will break your course up into bite-sized pieces that seem attainable. Use headline strategies just like you would use when writing an email or a blog post to get your students excited to open and consume the lesson.
In each module, create action plans that will give your students mini-achievements to accomplish along the way.
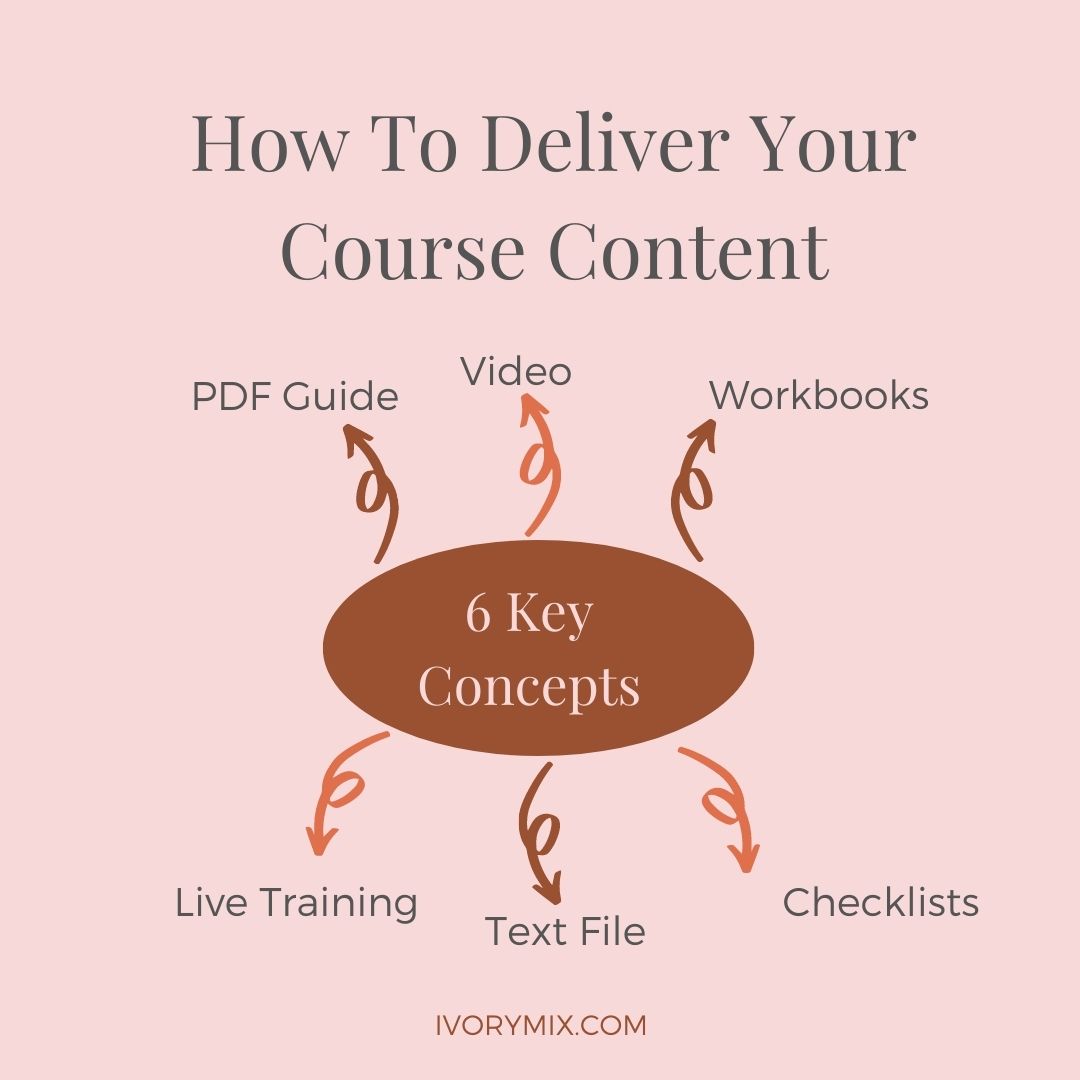
To decide on what topic you’ll cover, try this exercise! Get out a piece of paper and jot down the 6 key things someone would need to know in order to experience the transformation you’re offering.
Once you have the six things, brainstorm some content you could use to help illustrate those ideas and concepts. (Such as videos, text, pdf worksheets, infographics, etc.)
Another important component is to highlight student progress. Seeing their fellow course members moving along will help encourage other students to continue working through the course.
Pricing When pricing the course, look at similar courses and get an idea for the market value.
Think about what’s included in your course package — the more features your course has, the more you add monetary value. Last, think about the results your course brings to your students. If it delivers a proven system that will have life-changing effects, the value will be driven up.
Online Course Creation Tools
Platforms. When you’re launching an online course, you’re going to have to invest in a few key tools and products. The most obvious is the course platform where your course will be hosted and accessed.
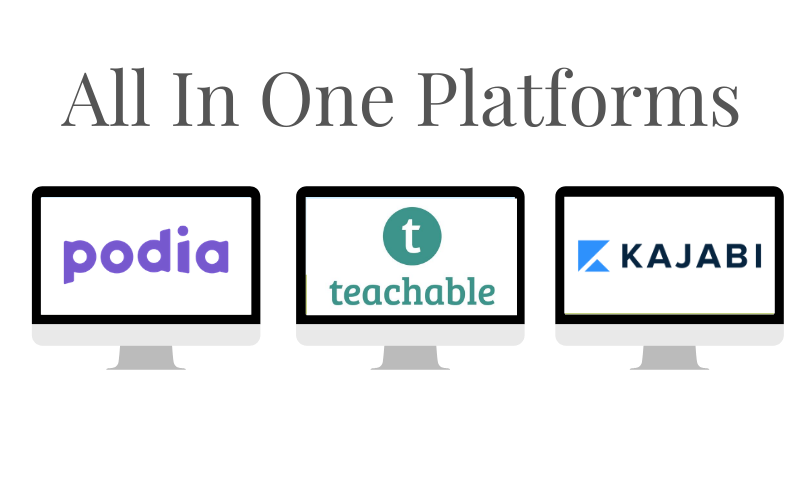
The first type of course platform is a stand-alone. Some stand-along platforms you may have heard of include Teachable, Podia, and Kajabi. We here at Ivory Mix use Teachable.
There are many benefits to these types of platforms — they are all-in-one, done for you programs. They can send emails to your audience, offer a cart and with upsells and down-sells, and allow you to set up affiliates.
The cons? You must figure out how to integrate these platforms with your own website, and there can be a hefty monthly cost.
The second way to host an online course is to do it right on your own WordPress site using a tool like Learndash or Access Alley. The positive to this option is that all your business tools are in one location. However, piecing together plugins can be messy and costly.
 Other necessary tools. The most simple way to record videos for your course is to use your phone — just make sure you have good lighting and a steady tripod. A Webcam is another good option and can be purchased inexpensively.
Similarly, microphones can deliver great sound quality without a huge cost. I love the microphone I purchased on Amazon!
Good lighting usually has to be created, and the best way to achieve attractive lighting for videos is with a ring light. For a small investment, these babies can transform the look of your course videos. They come with different settings for warmer and cooler lights to soften and prevent discoloration.
If you plan on showing your screen during a course video, check out user-friendly tools like Loom or Screen-Cast-O-Matic.
Step 3: Build Your Audience and Grow Your Interest List
Start to spark interest in your course by creating a wait/interest list. Build anticipation by sending emails, hosting webinars, and creating lead magnets to get people to join the waitlist.
The goal is to get as many people on that list and to enter the top of your course sales funnel as possible. This way there are more people working their way through your funnel to ultimately buy the product.
Sure, as people go down the funnel, many will drop off. Since only 2-5% will end up purchasing the course, the more people you have at the top means more sales at the bottom!
When marketing your course, be sure to set reasonable expectations. Don’t fall into the trap of overpromising results. Do, however, encourage and reward your student’s progress to create a feeling of achievement.
- Learn the process for Pinterest Marketing here
- Learn the process for Instagram Marketing here
- Learn more about creating graphics for marketing here
- Learn more about our done-for-you content, stock photos, captions and templates
Inside Ivory Mix membership you can find a whole host of workshops and content to help you build your first online course and starting making bank. This includes the workshop on how to attract your ideal clients with the perfect lead magnet. click here to find out more.
Step 4: Launch Your Course
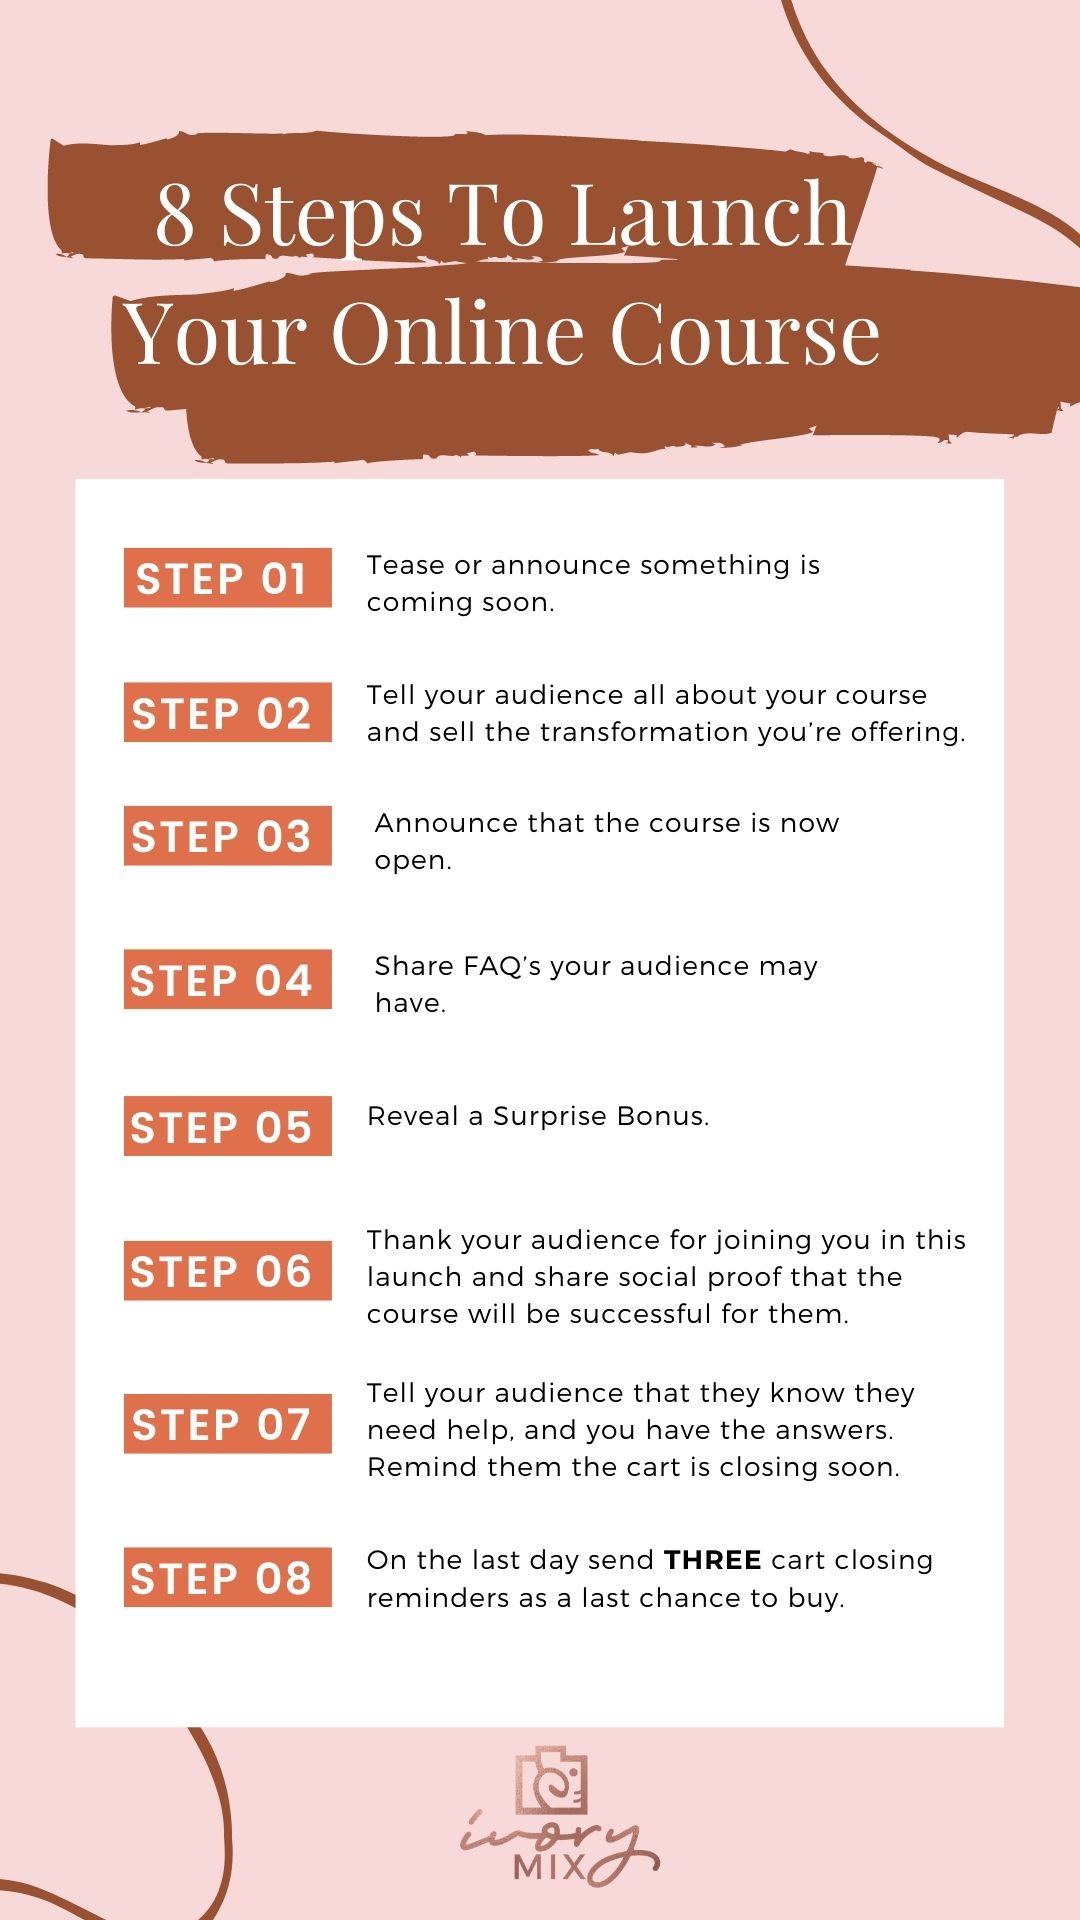
Once you’ve created your course and gathered your waitlist, it’s time to launch! These eight steps give you a blueprint to follow during your launch phase. Use your email list, your social channels, your blog, and any other medium you may have to communicate the phases of your launch with your audience :
- Tease or announce something is coming soon.
- Tell your audience all about your course and sell the transformation you’re offering.
- Announce that the course is now open.
- Share FAQ’s your audience may have.
- Reveal a Surprise Bonus.
- Thank your audience for joining you in this launch and share social proof that the course will be successful for them.
- Send a logical email that is straight to the point — tell your audience that they know they need help, and you have the answers. Remind them the cart is closing soon.
- On the last day send THREE cart closing reminders as a last chance to buy.
Once you have created your course, carried out beta testing, built an audience, and had your initial launch its then time to decide how often you will launch your course in the future. Will enrollment always be open, will you do ‘mini launches’ each month with an open and closed cart, carry out quarterly launches, or use an evergreen webinar funnel to enroll students?
Once you have decided how often and when you want to launch, you can then build your social media strategy around your launches, scheduling free challenges/ freebie promotion, and blog post content.
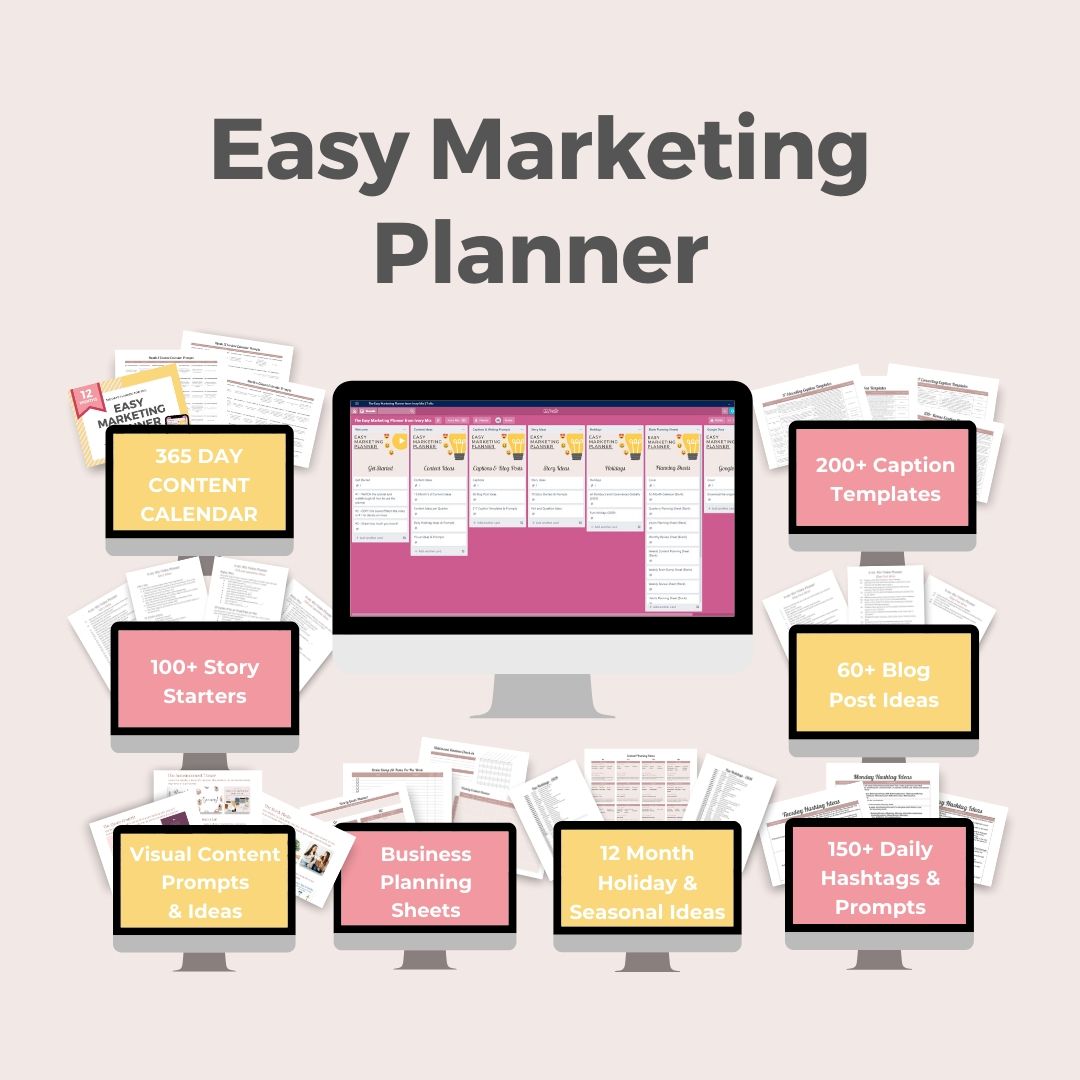
USE THE IVORY MIX, EASY MARKETING PLANNER, TO CREATE CONTENT FOR YOUR NEXT LAUNCH
Imagine what it would feel like to have your launch content planned in advance, so launching became easy?
The Easy Marketing Planner allows you to do this quickly and easily.

Included Free:
550+ Templates, Photos, & Strategies
Get New Free Downloads Monthly
Unlimited Downloads
Special offers & Trends Newsletter
Save and sort your favorites
Access 500+ Free Templates, Photos, & Strategies With A Free Account
Free User Creation for Popup
By creating an account, I agree to Ivory Mix's Website terms, Privacy Policy and Licensing Terms
Already have an account? Log in
1 Comment
Leave a Comment
You must be logged in to post a comment.






Thank you for giving me a deeper understanding on online courses. I have saved this page, so that I can read it over and over.