get 500+ free images, templates & marketing strategies! You're one click away, Don't Miss It.
Lighting tips for being on video, Instagram reels or YouTube
This post may contain affiliate links. Please read the disclaimer
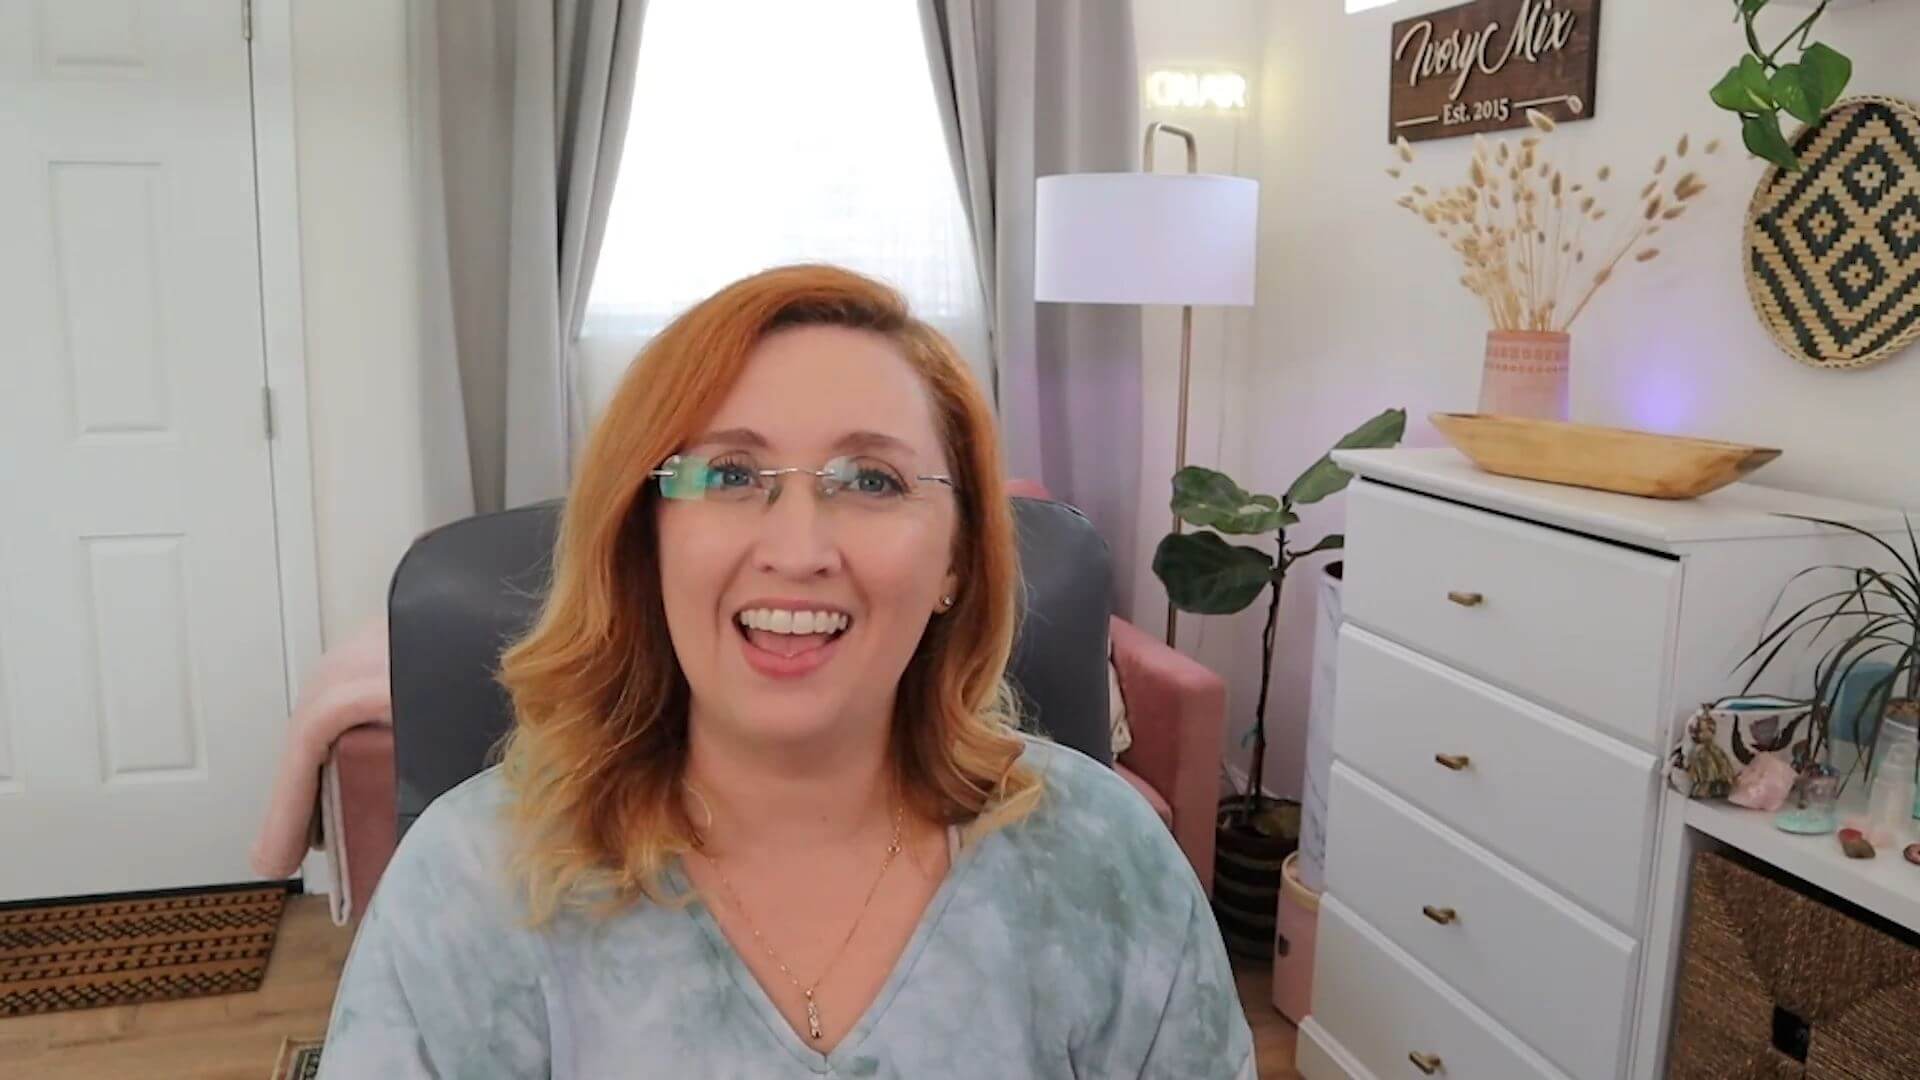
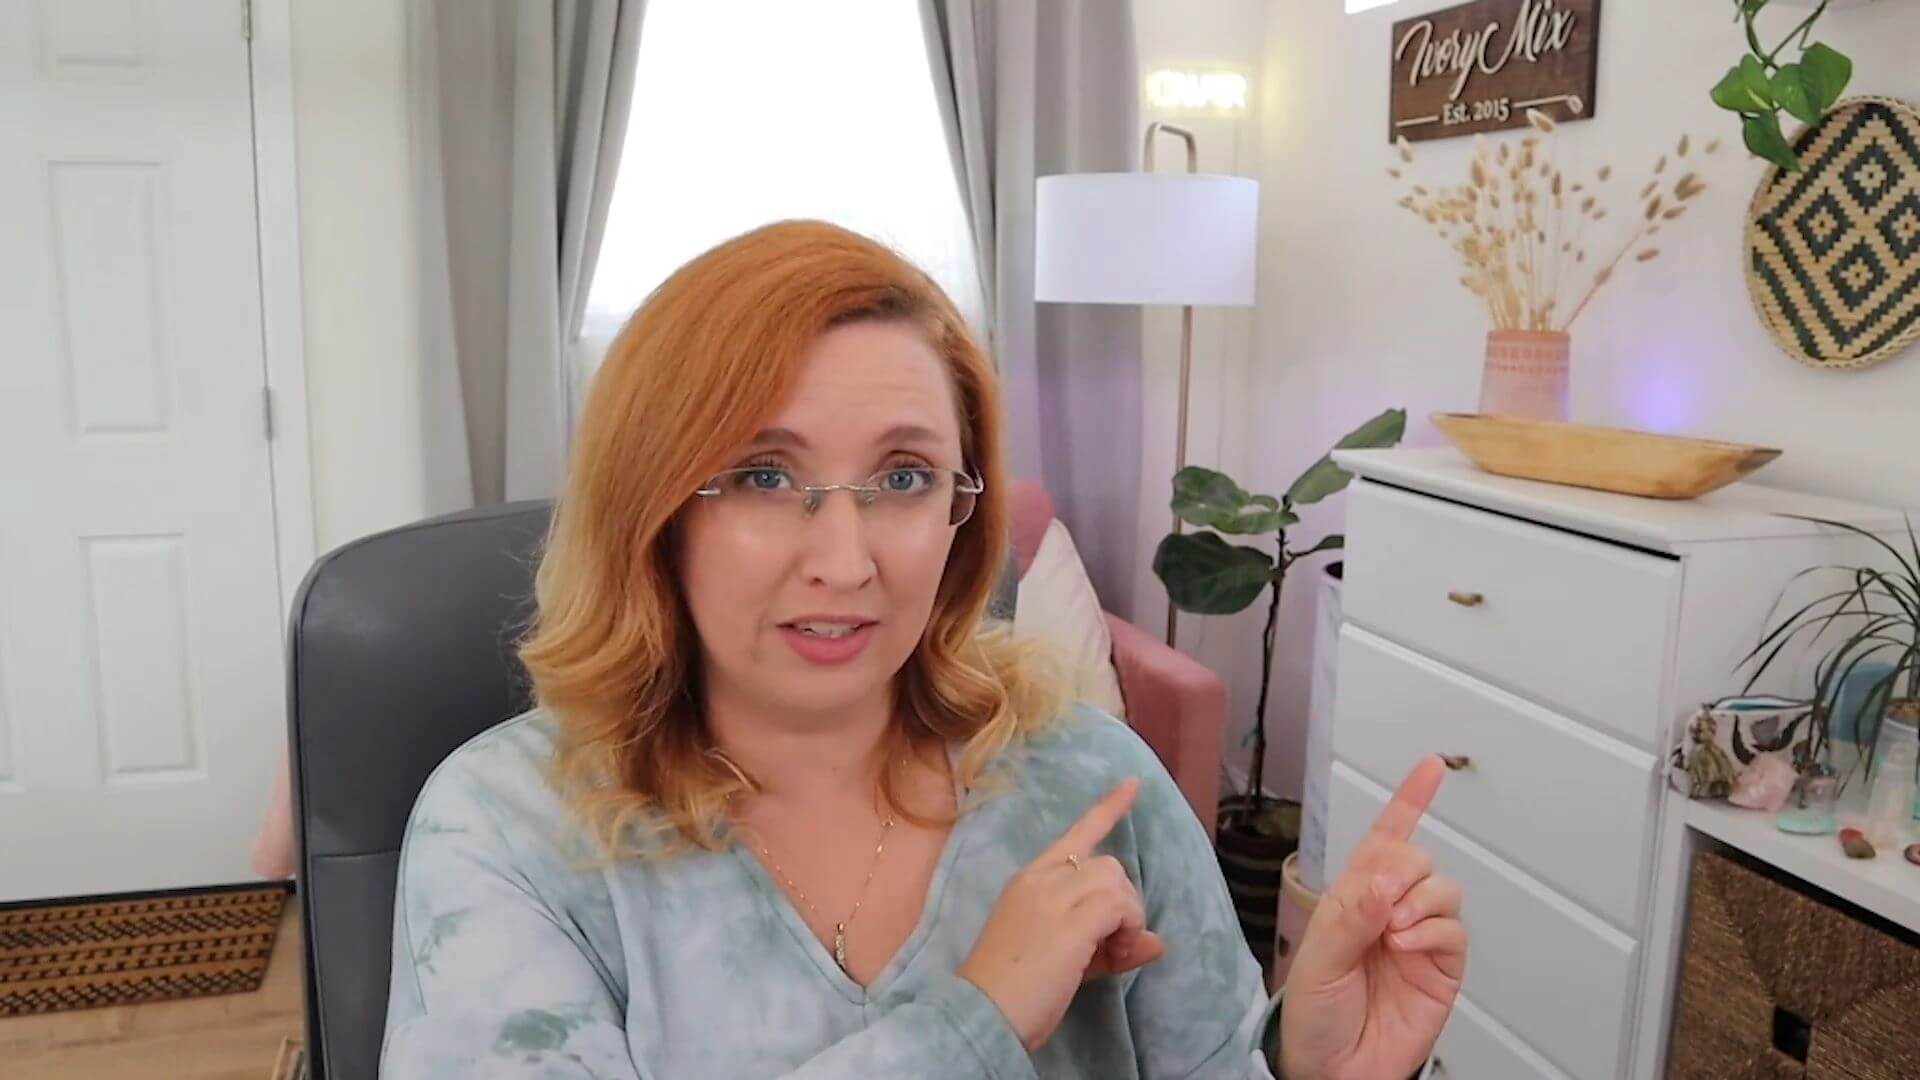
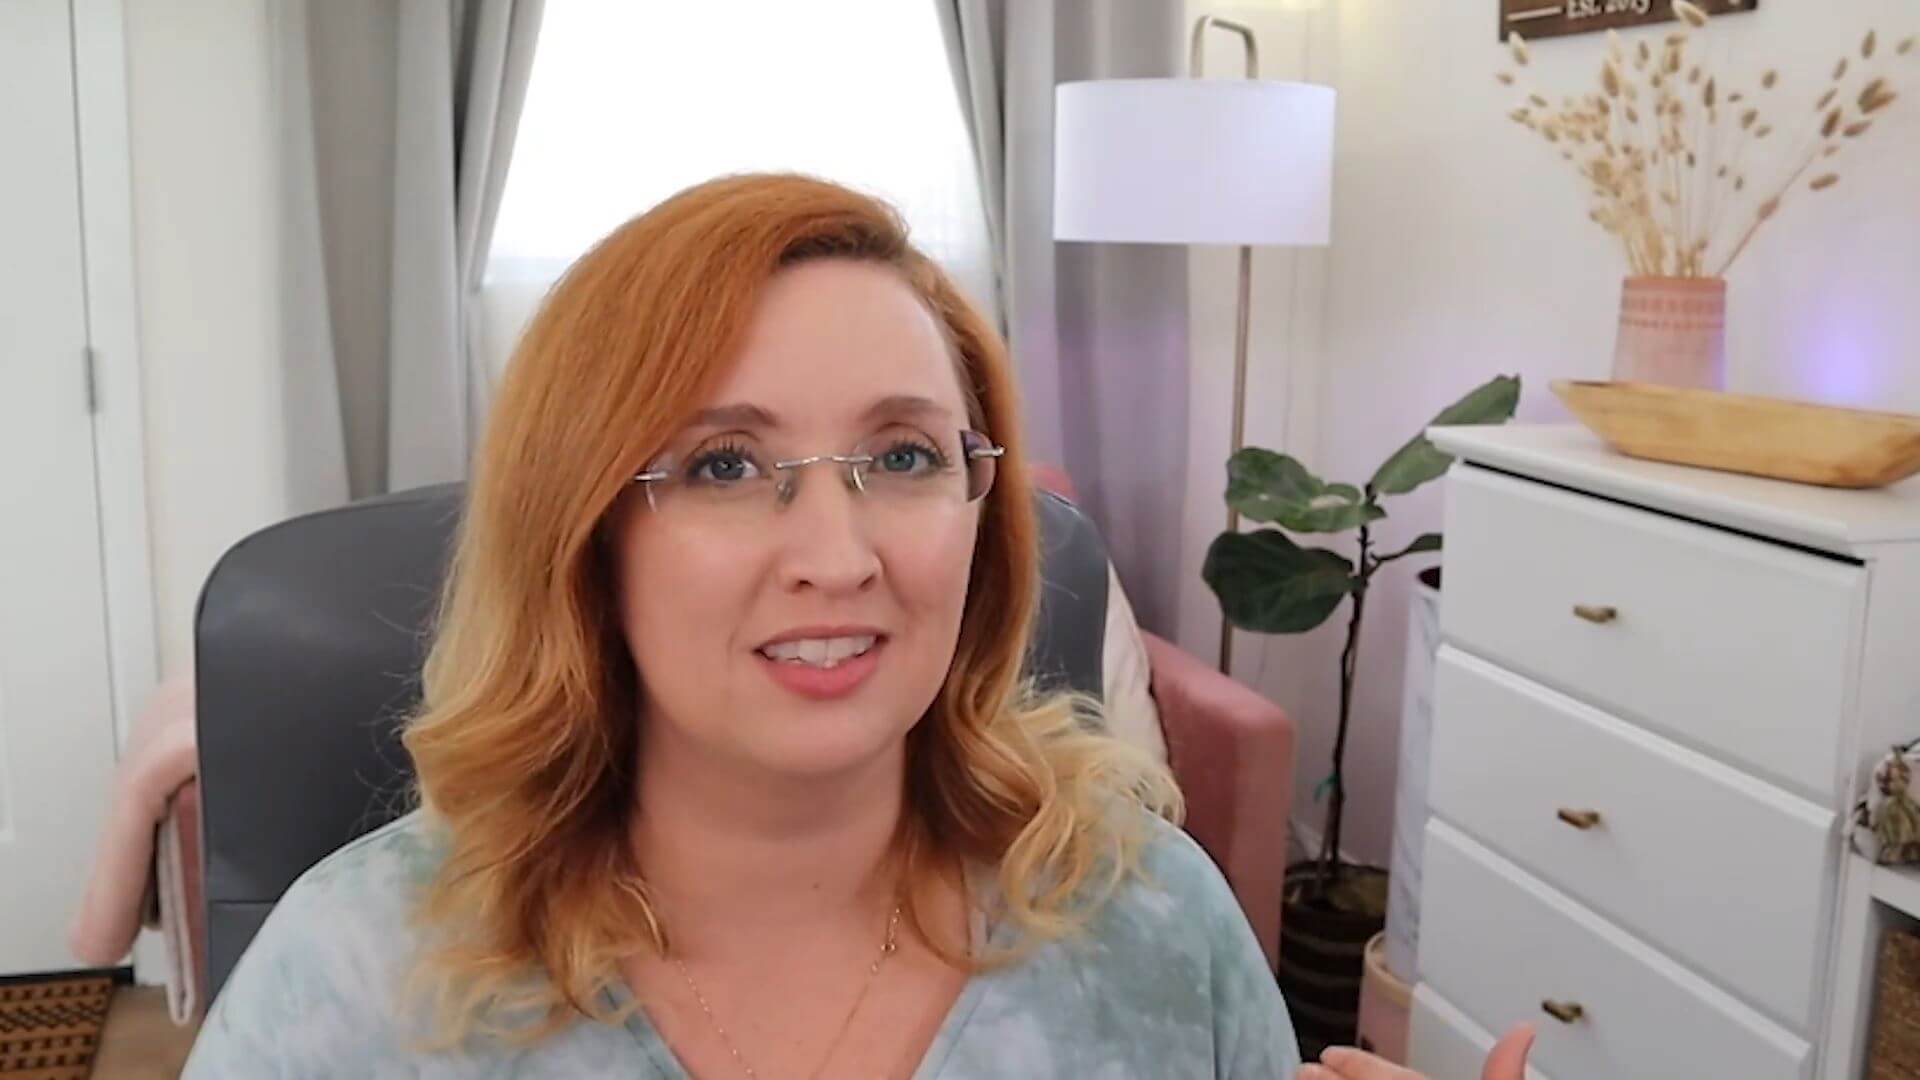
I’m a photographer and I also am a content creator. I create lots of video content, whether that’s for Instagram or for my YouTube channel.
It’s no surprise to me that I get lots of questions about lighting and how to look better on camera.
I wanted to create this blog post to give you all the tips and tricks for simply having better lighting and using tools that you have around you and simple resources to help you look better on camera with better lighting.
Let’s go!
You can skip the read and watch the video here:
Lighter Clothing
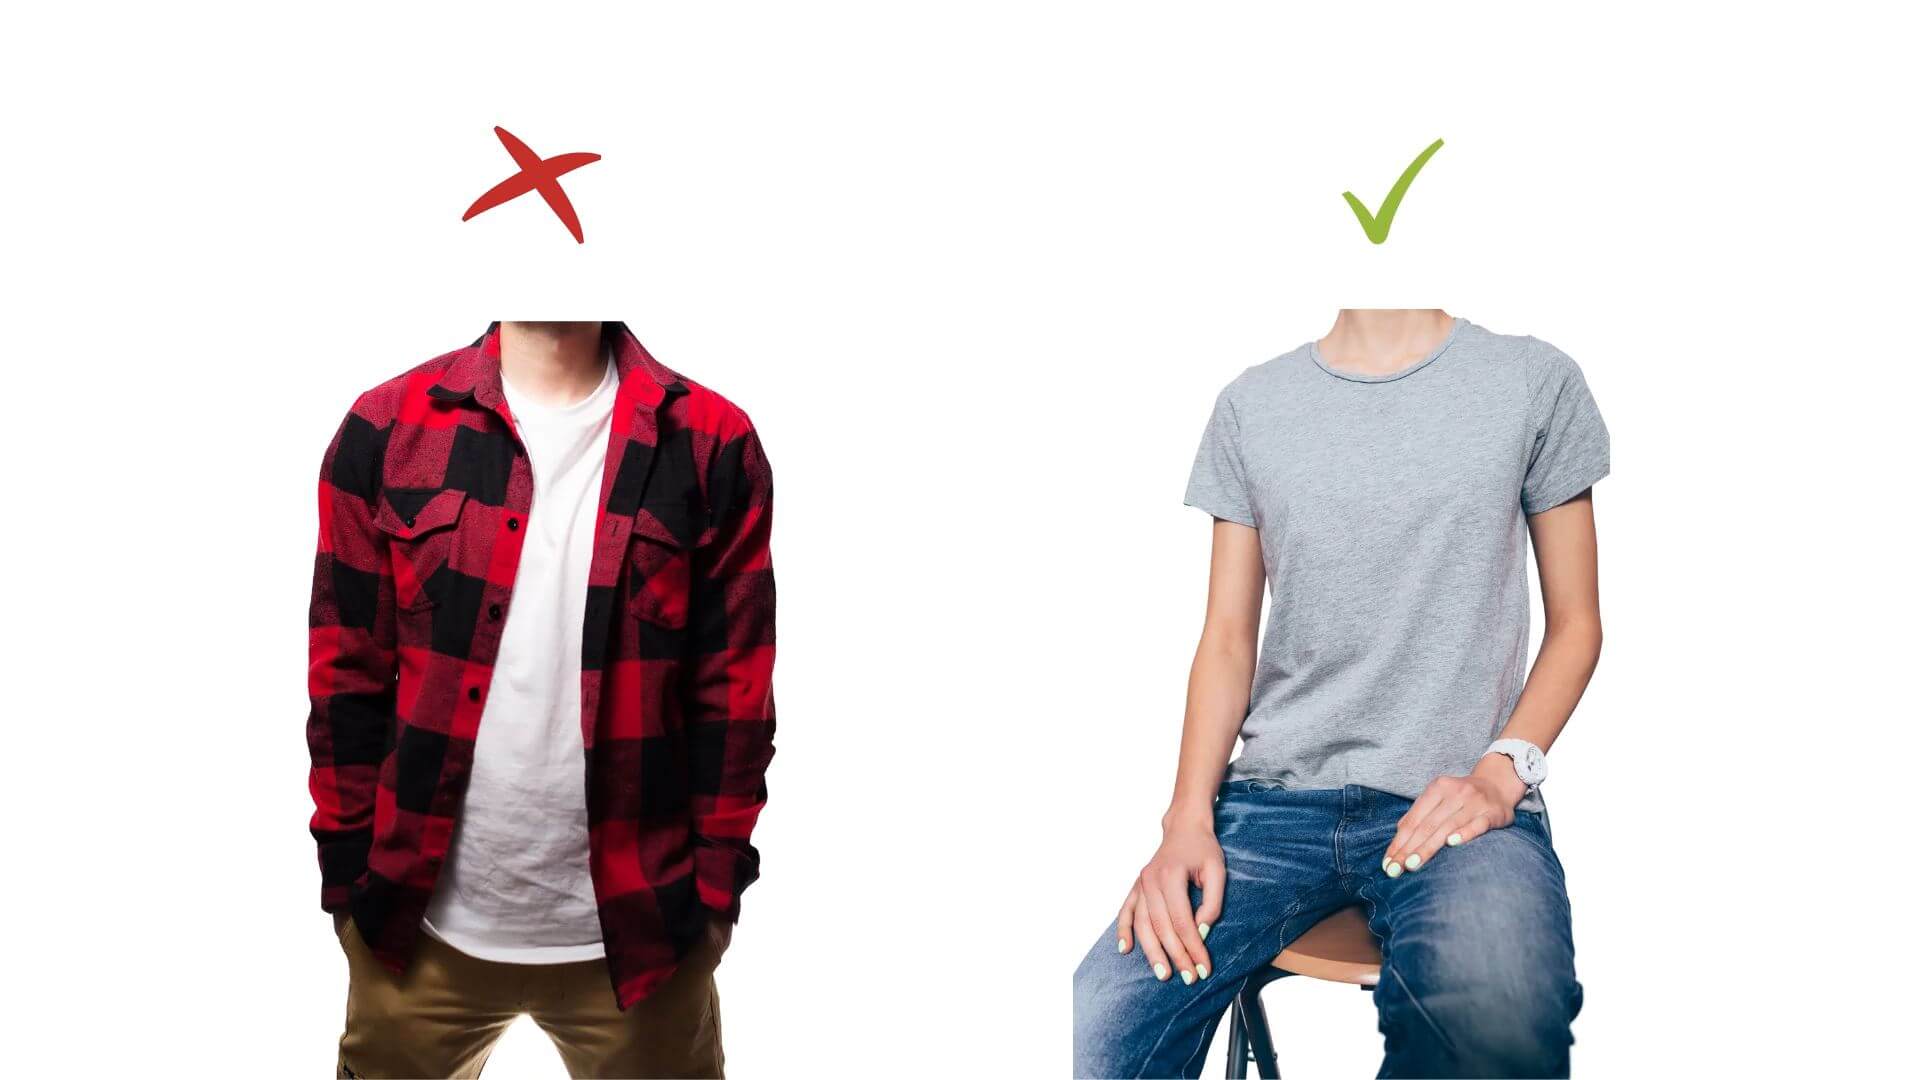
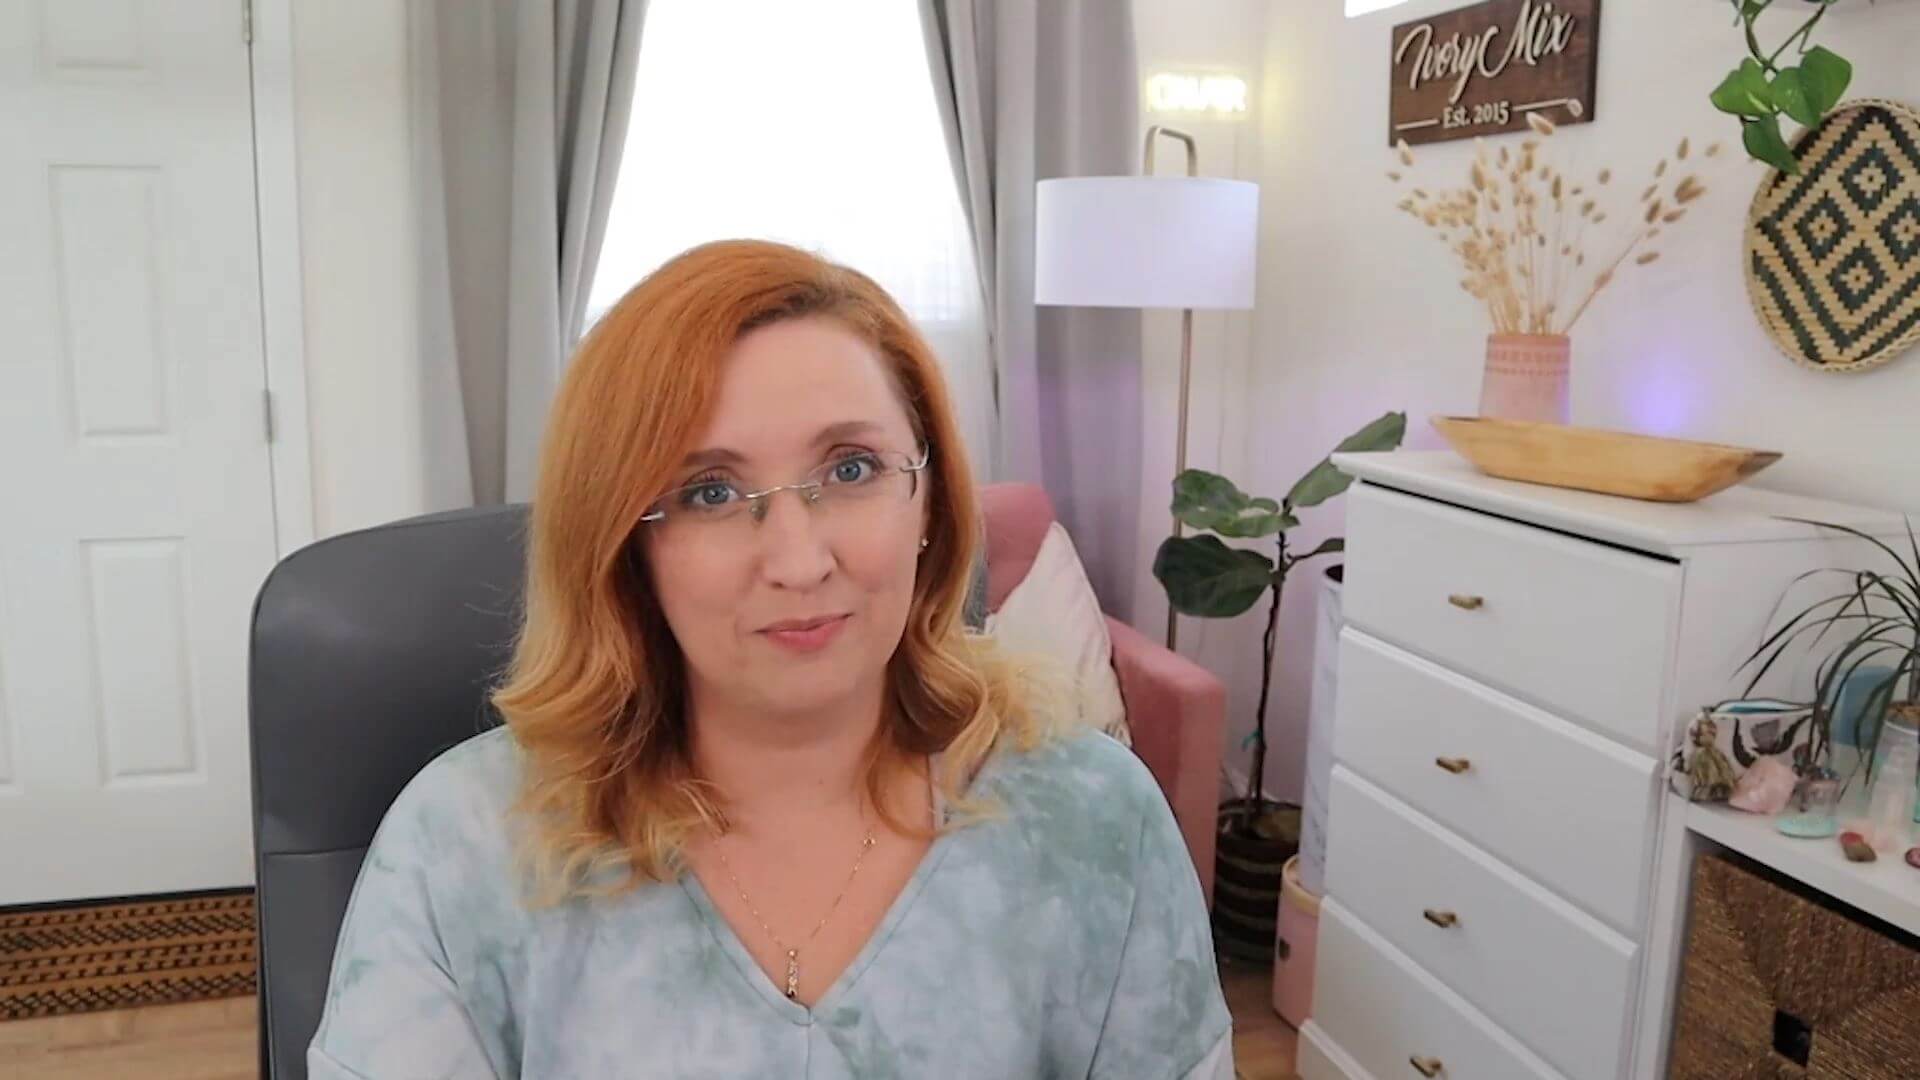
The first thing that I want to say about having better lighting for your videos and creating a better look for your videos is that you want to wear clothing that is lighter in color.
You don’t want high contrast in your videos unless that’s what you’re going for. Most of the time, what we want is even lighting.
Wearing lighter colors in your videos is going to help your lighting situation just seem a little more even and lot less harsh.
It’s going to allow your skin tone to feel more even. If you wore something very dark in comparison to your skin tone and there was a lot of contrast between your skin and your shirt color then you’re going to see or notice imperfections between the two things. Having something lighter creates a little more of an even tone in your images.
Lighting on your face
The next thing that we want to consider is the lighting on our face.
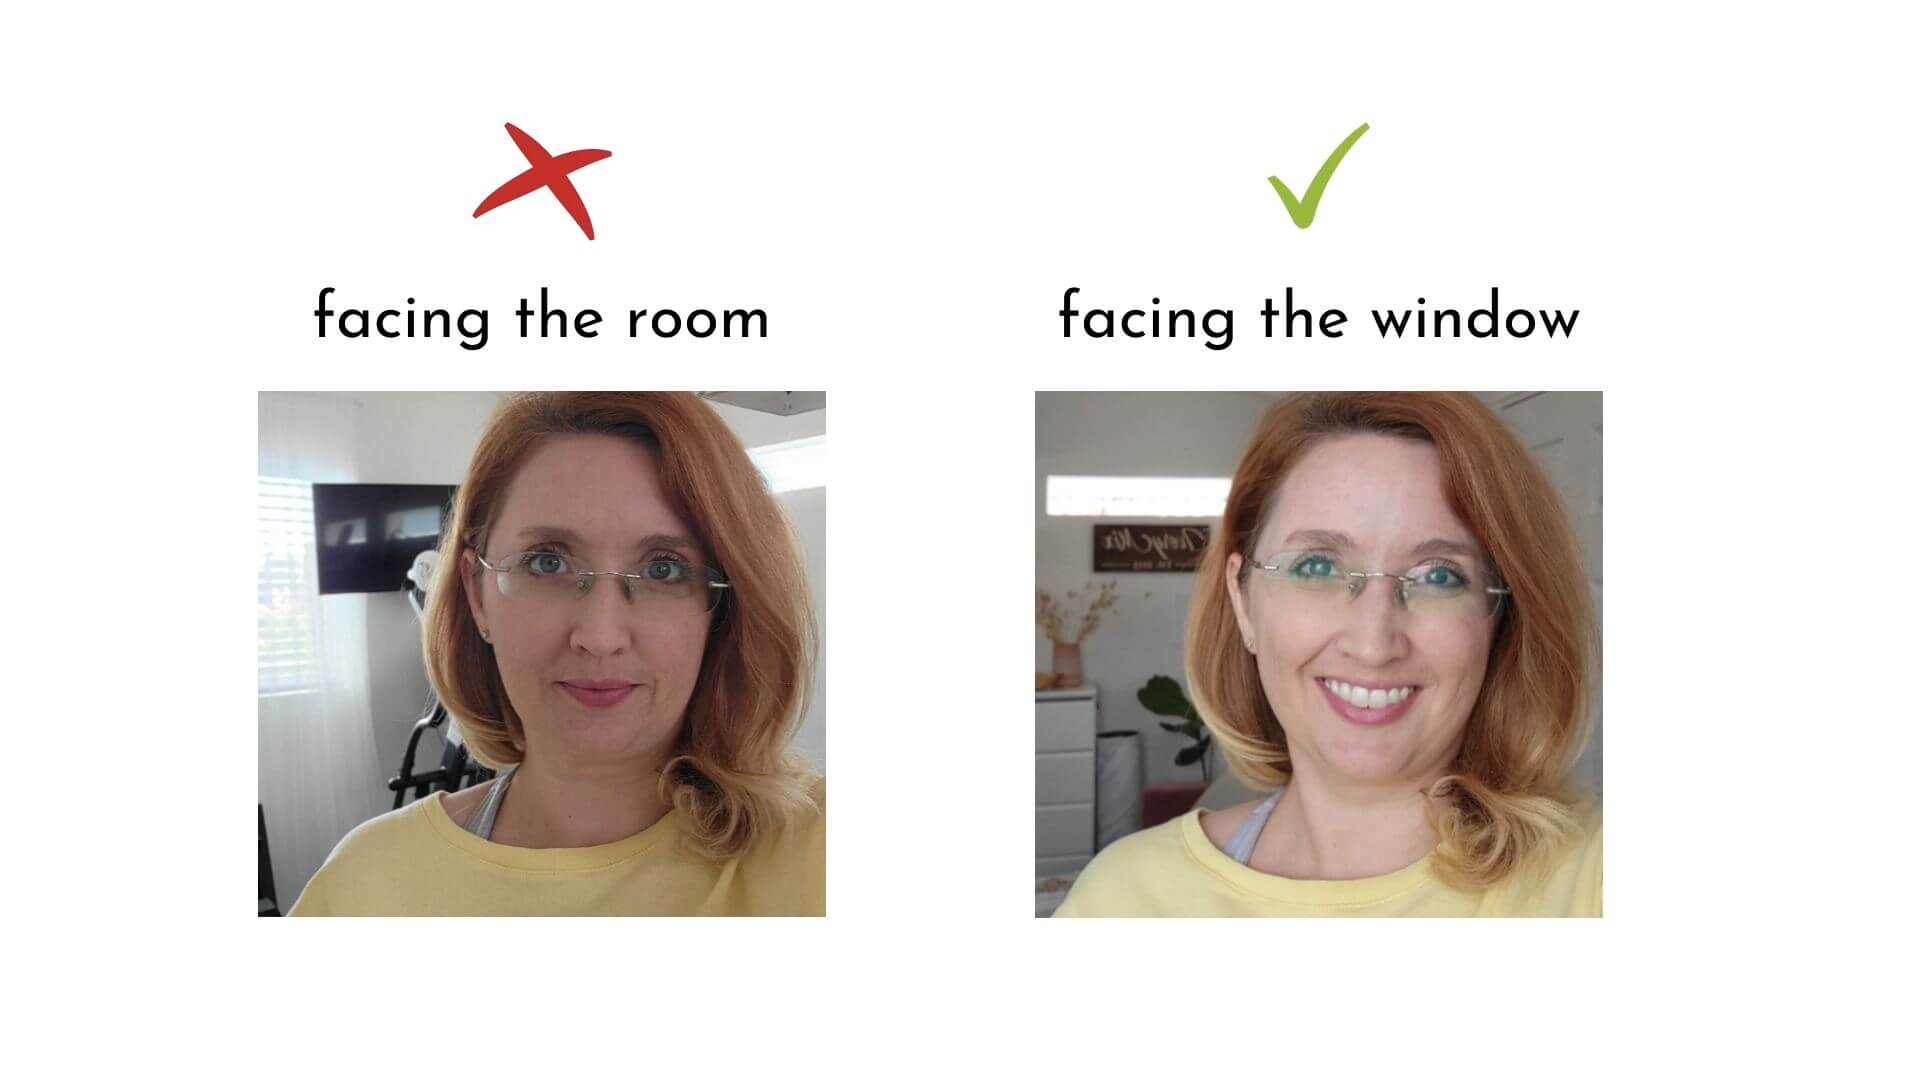
We don’t want a lot of harsh shadows or dark spots. We want to make sure the lighting on our face is even and that there aren’t a lot of very harsh shadows.
One of the best ways to do this is to use direct window light. When I say direct, I mean you’re directly facing the window.
When it’s light outside, that daylight is coming in through the window and is being slightly filtered through the window and so the lighting is going to be a little more even across your face.
However, if you were to film the video facing away from the window, then you would have this bright light behind you and no light in front of you. If you were going to film like that, you would want to make sure that you have lights in front of you as well as that window behind you.
Ring light
If a window isn’t going to work for you and you really want to purchase some lighting equipment, one of the best things that you can get is a simple ring light.
A ring light is great because it creates this circle of light around you, which is even. This means that there’s lighting all the way around your face.
It also, as a bonus, creates these little ring circles on your pupils or on your eyes, which is kind of cool to look at.
A lot of beauty content creators and content creators on YouTube or online use ring lights because it creates a very even lighting effect.
LED Panels
But if you’re like me and you have glasses, a ring light is not that great because you have to angle it and then you lose the effect of the ring on your eyes and you actually don’t want that lighting and that ring on your glasses. If you wear glasses like me, you are probably looking for a different solution.
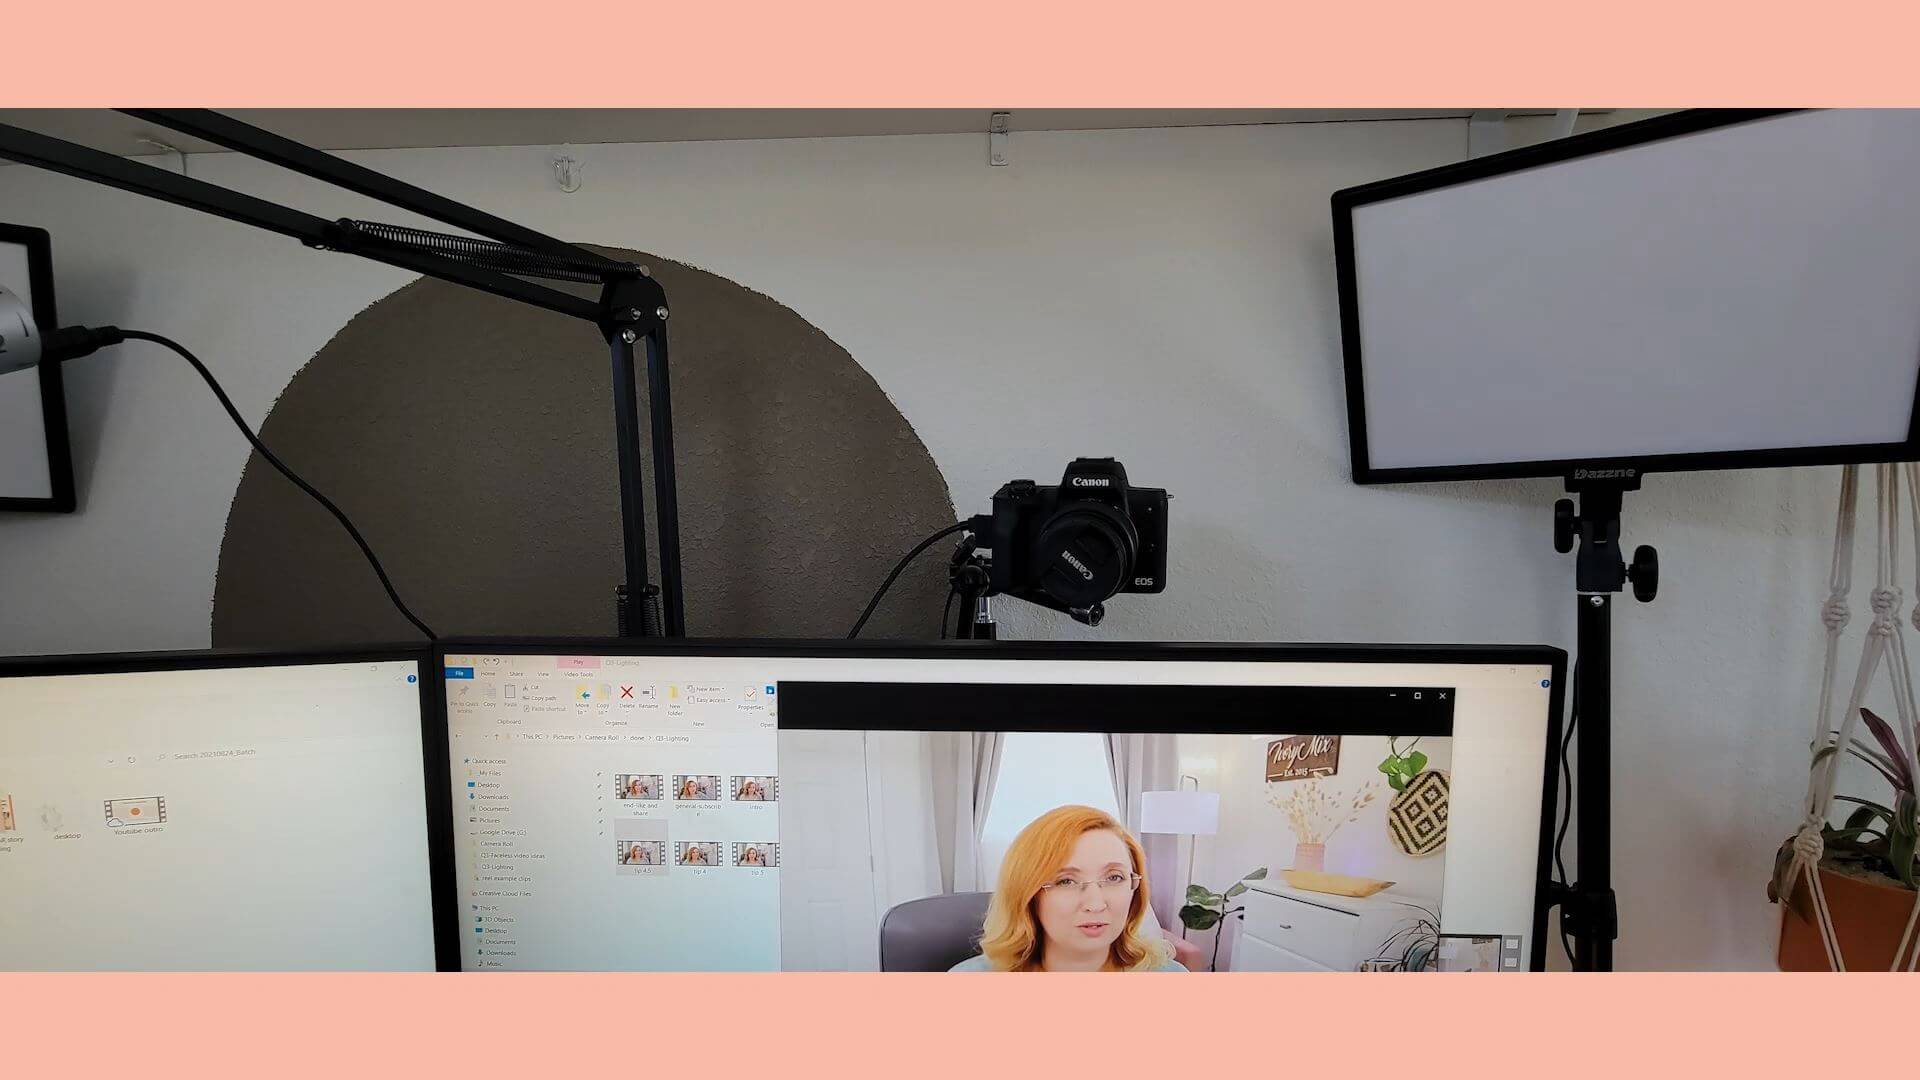
I use two LED panels I bought on Amazon that are clamped to my desk. They come with a remote, which has different settings for warmer light and cooler light.
The closest I can get to the room lighting behind me, if it’s daylight outside and the room is well lit, is forty-seven hundred K so that everything seems even. That means Kelvin, which is the warmth or the coolness of the light.
You usually want that light to seem natural on video. That means somewhere in the middle of the numbers on this remote and for me that’s about forty-seven hundred K.
If I went warmer everything starts to turn a little orange.
When I go cooler, or when I go to the higher number, it gets a little more blue.
If you wear glasses like me, you might want to consider getting these panels. These LED panels on my desk are placed one at the left side and one at the right side, and they’re slightly above my eye sight level and at a slight angle so you don’t really see them on my glasses.
You don’t really see the lights on my glasses but as I turn my head you can see the light. But when I’m looking at the camera straight ahead because these lights are off to the side, you don’t necessarily see the lighting in my glasses.
These lights happen to be clamped to my desk, but you can get them and put them on a tripod so that you can walk around in your home or your office and use these lights anywhere.
Buying a two pack has really been valuable to me because it allows me to have even lighting on both sides of me and eliminate that ring with the ring light that I used to use.
Space around
One of the things that I consider when I’m filming a video is the space around me and above my head.
When I’m filming YouTube videos, I look directly at the camera and the camera is basically at eye level and maybe even slightly above just to enhance my eyes a little bit and give a slimmer look to my face.
I make sure that I am close to center on the camera but with YouTube videos I often like to put graphics or text off to the side and I do sit a little off center, which makes the editing process easier.
If you’re filming Instagram reels or considering filming for your videos, knowing where your text is going to go or where you might put graphics before you actually film is better to plan ahead of time so that you sit appropriately.
You don’t want to be totally off the center.
You do still want to be the focal point of your video. Being just slightly to the side, giving one space area for text and things like that, is a good practice.
Well lit background
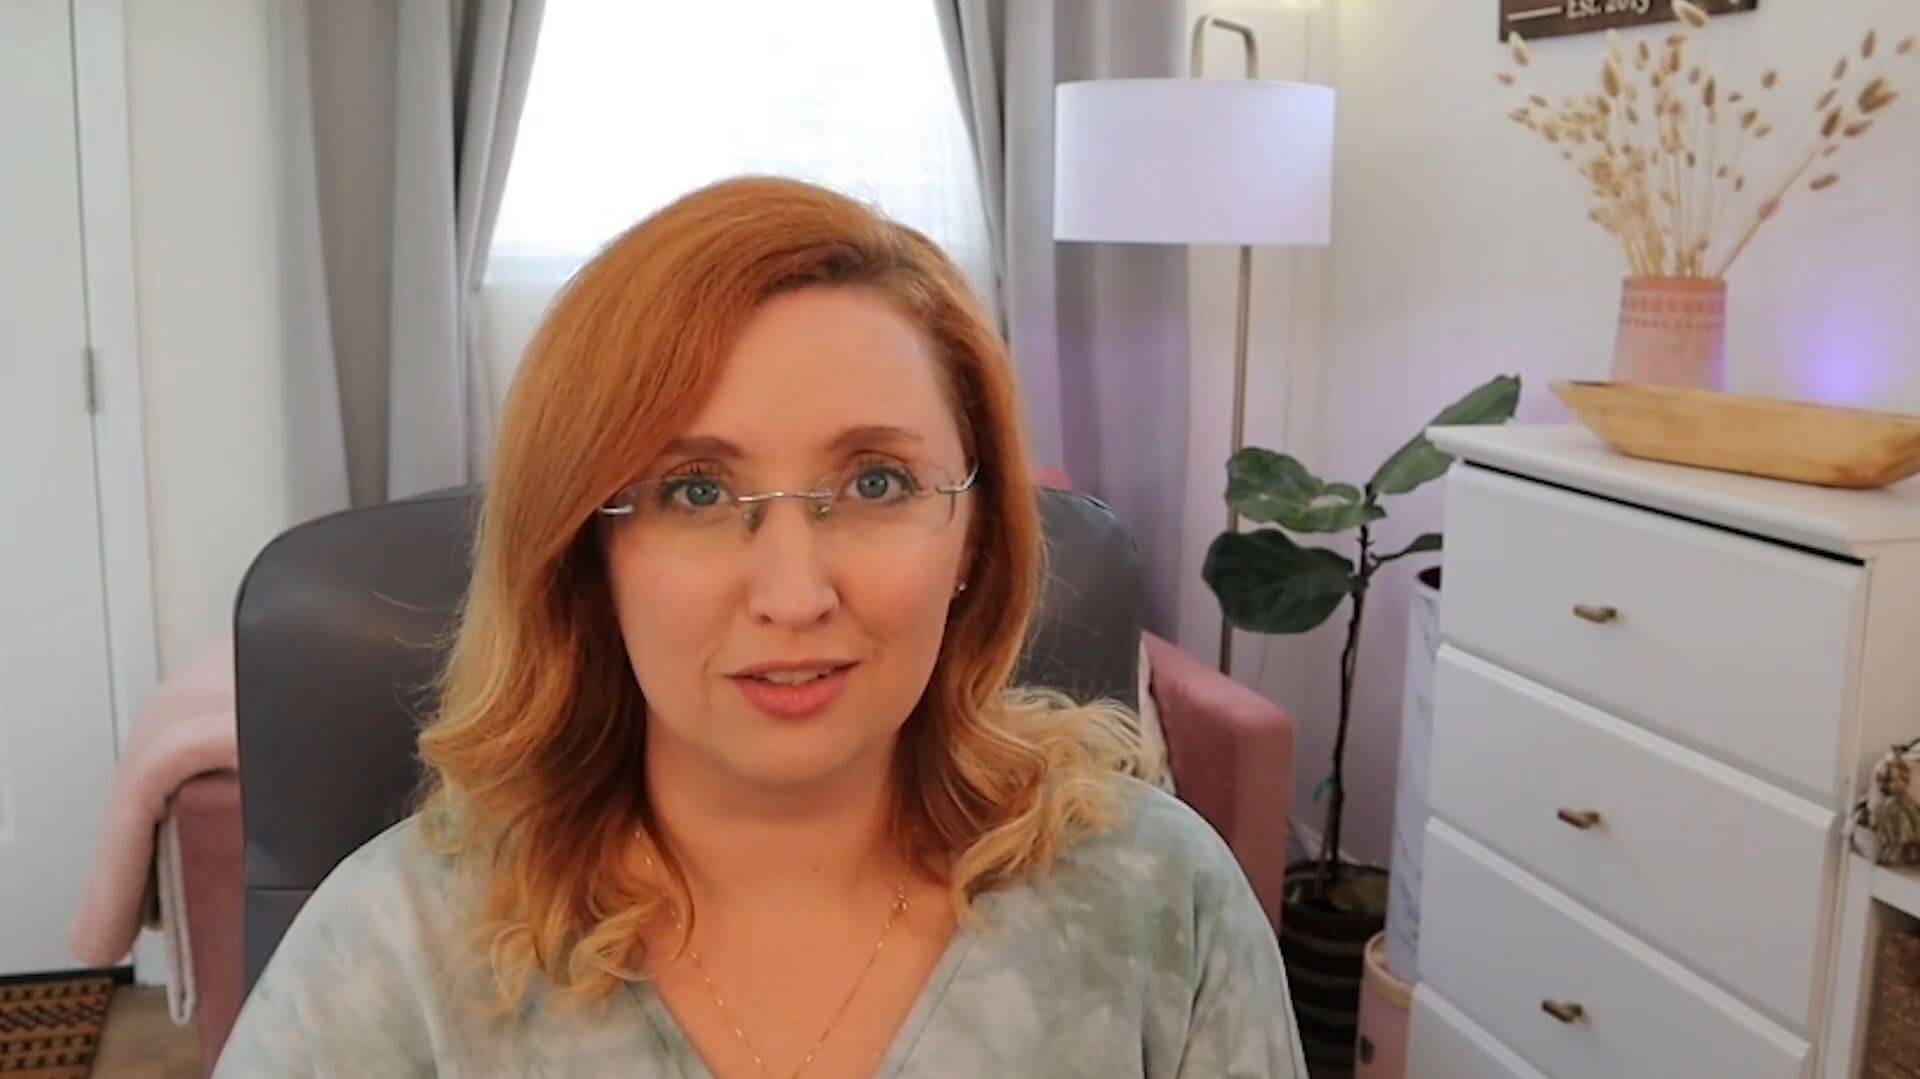
The other thing that creates more professional videos and better quality lighting is to use a well-lit background.
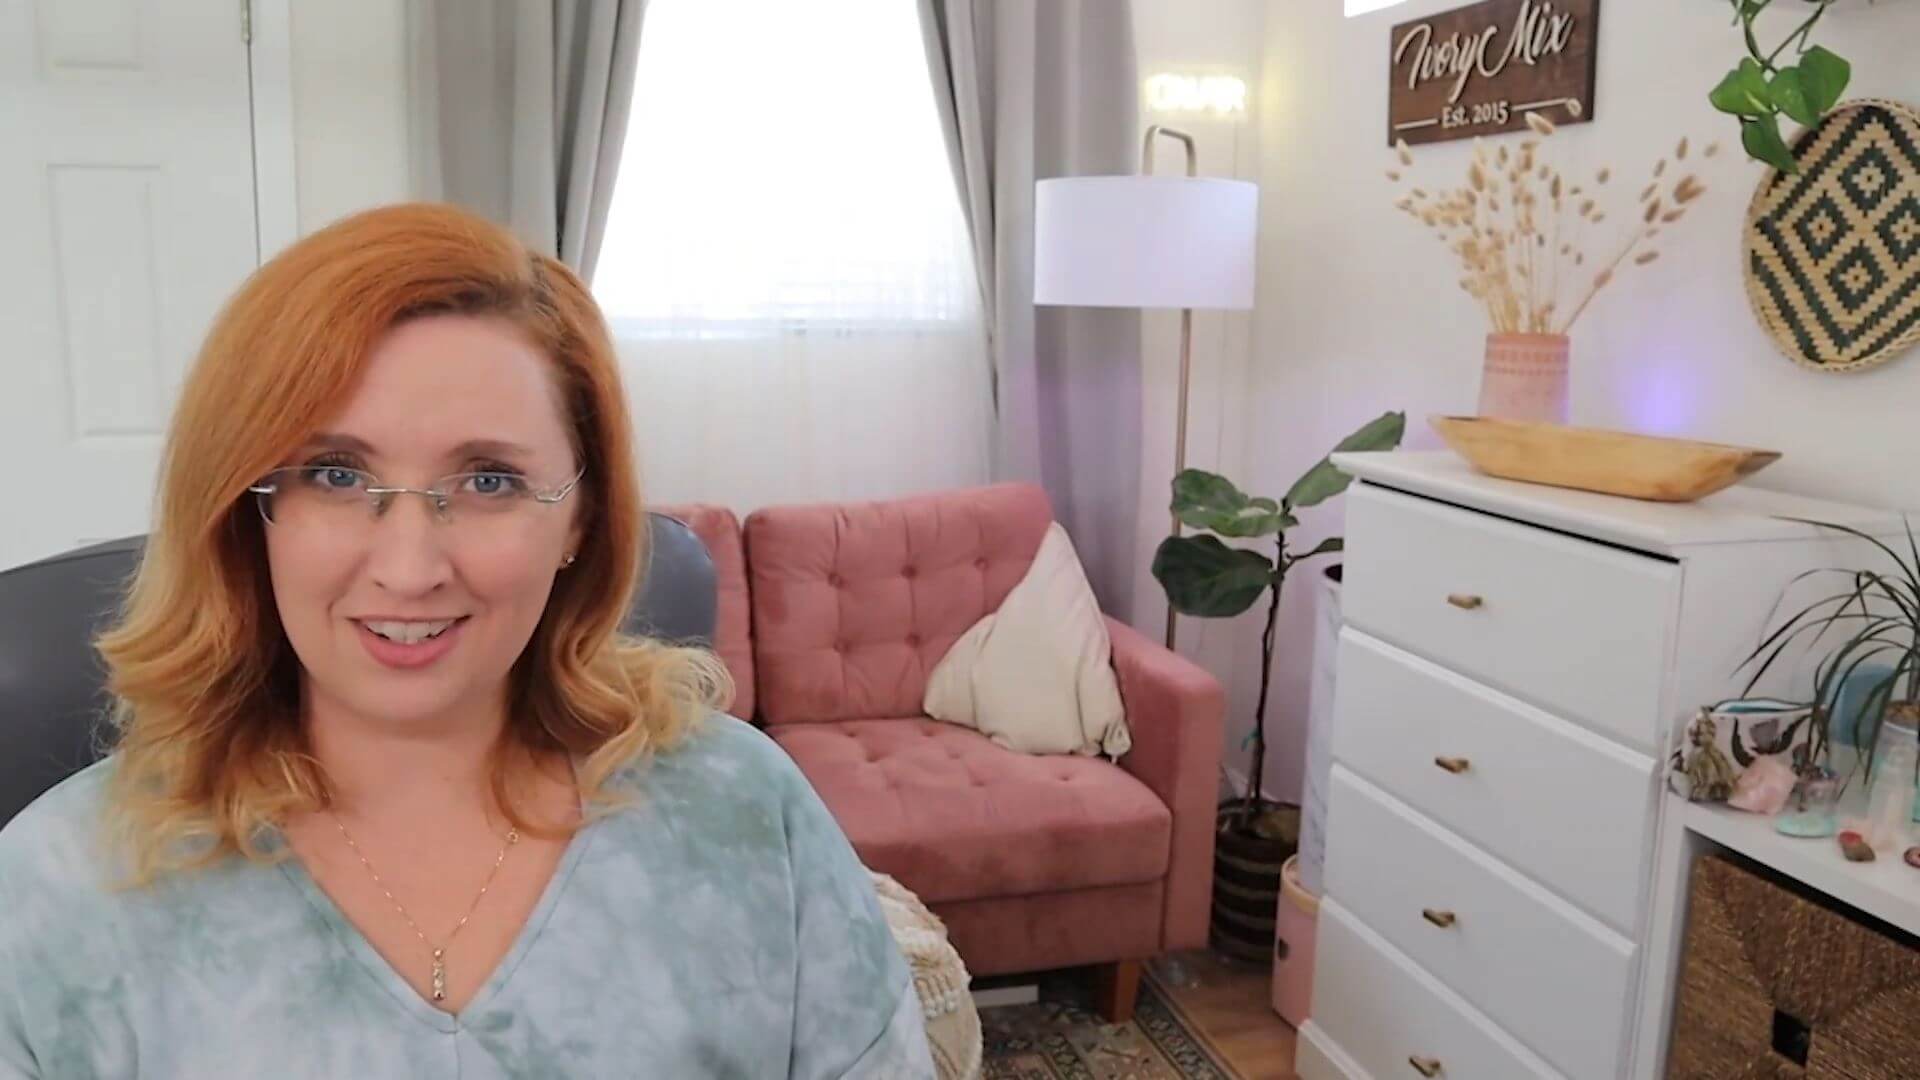
You can see behind me this is my real office. It is well lit and looks good in the video. It is also slightly blurry behind me, so you don’t see all the details of everything.
But it’s important to keep the background simple and clean. If you are going to choose just a simple wall behind you with not a lot of detail, that’s fine, as well as a low clutter background because then it’s less distracting from you on camera.
If you are going to have something behind you then it’s better to have it be further away, because the further away it is from the camera, the less detail the people who are viewing your video are going to see and the more you become the focal point of the video.
With your backgrounds, we’ve got a few things:
- Keep it simple. Solid color background or as little in the background as possible.
- If you are going to have things in the background, make the camera as far away from those things as possible so that they become more blurry and less detailed so that you truly stand out.
- If you are going to have a simple background, you can be closer to that background, because then you aren’t going to see a lot of detail.
Makeup
When it comes to being on camera and looking good in your videos, you want to use makeup and wear makeup sparingly.
Unless you want to make red lipstick a part of your brand or it really enhances your confidence, the best approach to makeup is the least amount of makeup that enhances your natural features.
It’s less distracting for the viewer and it enhances what is already great about you, which is your natural features.
Avoid looking shiny on camera and wear makeup that enhances your natural features and you’ll be good to go.
Now that you know more about Instagram reels, I have 30 story and Instagram reels ideas for you all laid out and you can grab it right here.
If you like this blog post, let me know what your favorite part was and share it with your fellow content creators.
What Next?
Want to learn more about Instagram reels and content? Click below to learn more from our latest articles.

Included Free:
550+ Templates, Photos, & Strategies
Get New Free Downloads Monthly
Unlimited Downloads
Special offers & Trends Newsletter
Save and sort your favorites
Access 500+ Free Templates, Photos, & Strategies With A Free Account
Free User Creation for Popup
By creating an account, I agree to Ivory Mix's Website terms, Privacy Policy and Licensing Terms
Already have an account? Log in


