get 500+ free images, templates & marketing strategies! You're one click away, Don't Miss It.
how to create your own blog photo background
This post may contain affiliate links. Please read the disclaimer
There are so many ways to get quality photos for your blog, but one way that I use to create blog images is by using my own camera and my own backdrops and equipment. I don’t have a photo studio or much equipment, but I do have some key pieces that make it really easy to create your own photos and photo background for as little as an added $10. I’ve always dabbled in photography, but I’m definitely no professional, I’ve never taken any classes and most of my photos come out just okay and there are a few that I end up really liking. So, don’t worry about your photography skills. Like me, just continue to practice and keep it simple.
Today, I’ve just created my own custom backdrops with my own photo props from around the house using a camera, a few lights, some contact paper and foam boards. I had the camera and lights, and all I had to get from the store was the foam boards and contact paper. These can likely be found at your local $1 store. I went to the dollar tree in our neighborhood and ended up getting 5 different contact paper patterns and a few foam boards. One trick that may be helpful to you is putting different patters either side each foam board, that way you get more for your buck. I kept at least one side of a white board and one side of a black board blank so I could use those sides in the future too.
Create blog photos and photo background from this list of common items:
- 1 x Digital Camera (already owned)
- 2 x lamps (already owned)
- 4 x foam core boards ($4 total)
- 5 x rolls of contact paper. ($5 total)
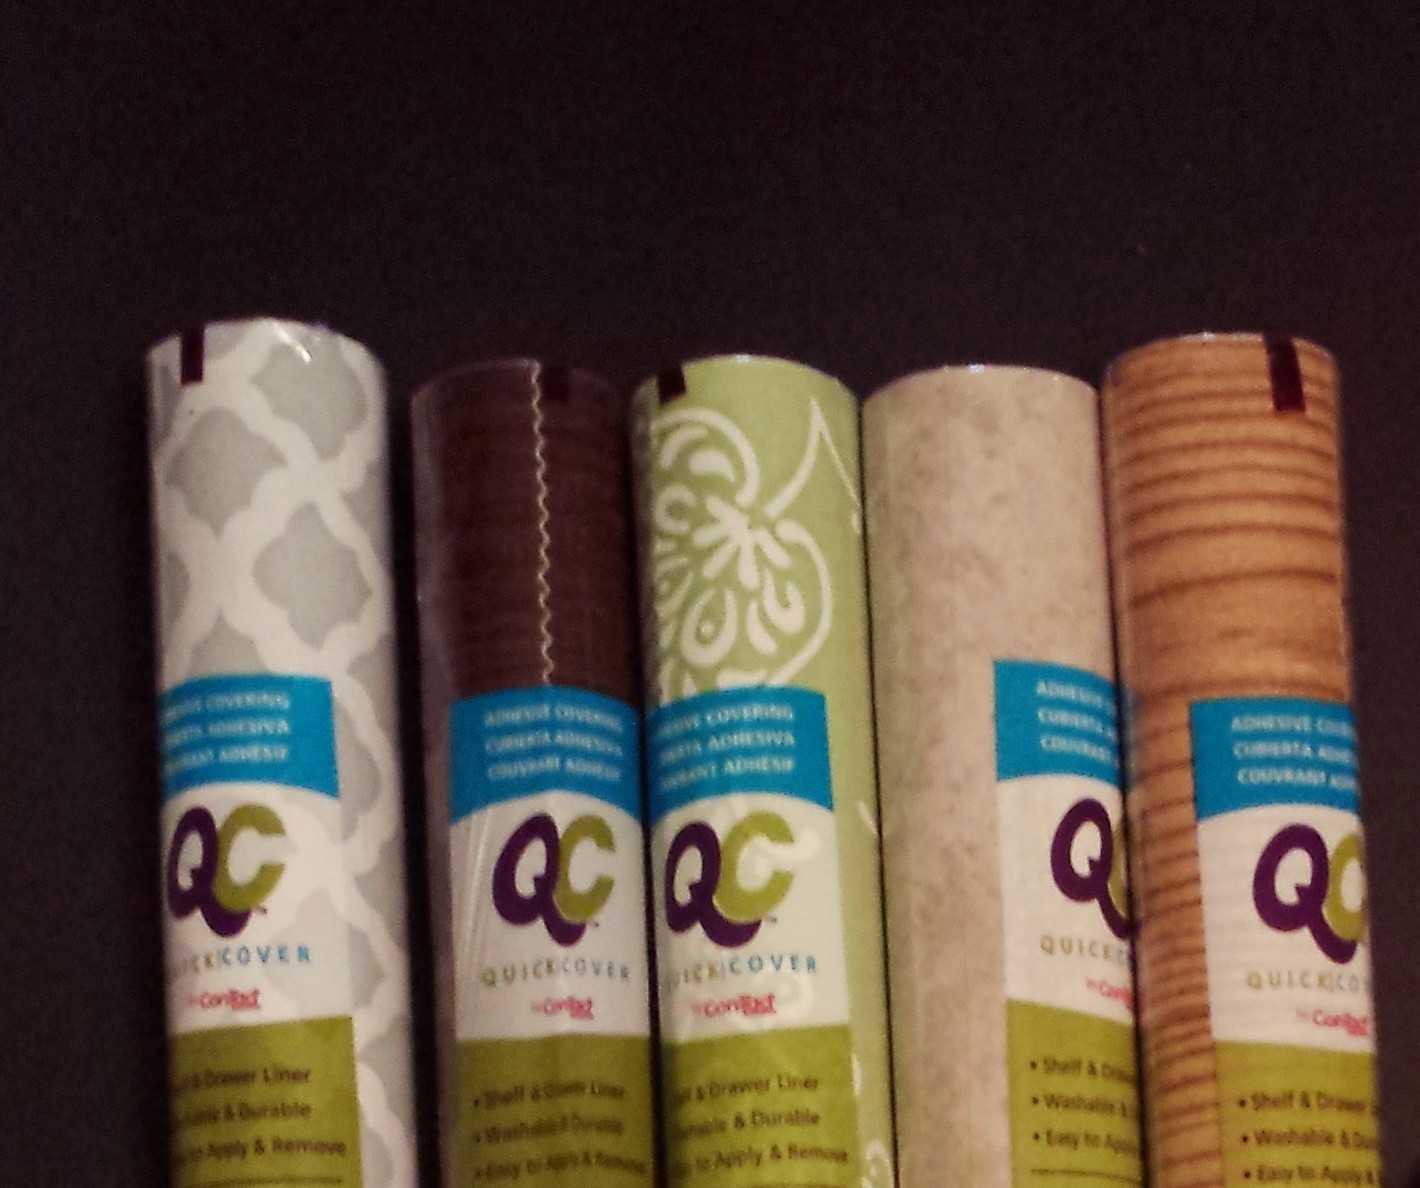
Contact paper for custom backdrops
Something I learned while putting the contact paper onto the boards is that if you mess up, the contact paper is really easy to peal back and reset! (I definitely needed to do that a few times). Another thing to remember is that you’re going to get air bubbles but they are really fairly easy to get rid of. All I had to do was run my hand across the boards and apply some light pressure to smooth out the bubbles. Last, but not least, is that the foam boards I bought were not shiny. I’m not sure if this made a difference in how easy they were to reset but I thought I’d mention it just incase.
After I bought my contact paper at the dollar tree store, I ended up at Target (Christmas shopping for my family) where I found they also have multiple patterns available in contact paper but for 5 times the cost! So, I definitely got a deal on what I got. Some other ideas you can use if you’re having a hard time finding contact paper is..
- Shop online for contact paper
: There are some choices on Amazon here
- Use wrapping paper instead and just tape the edges to your foam board
- Use scrapbook paper from a hobby store. This will be for small objects and product photos.
- Go pro and buy the real deal for photo backdrops
and photo backgrounds for your studio
The DIY studio background in action:
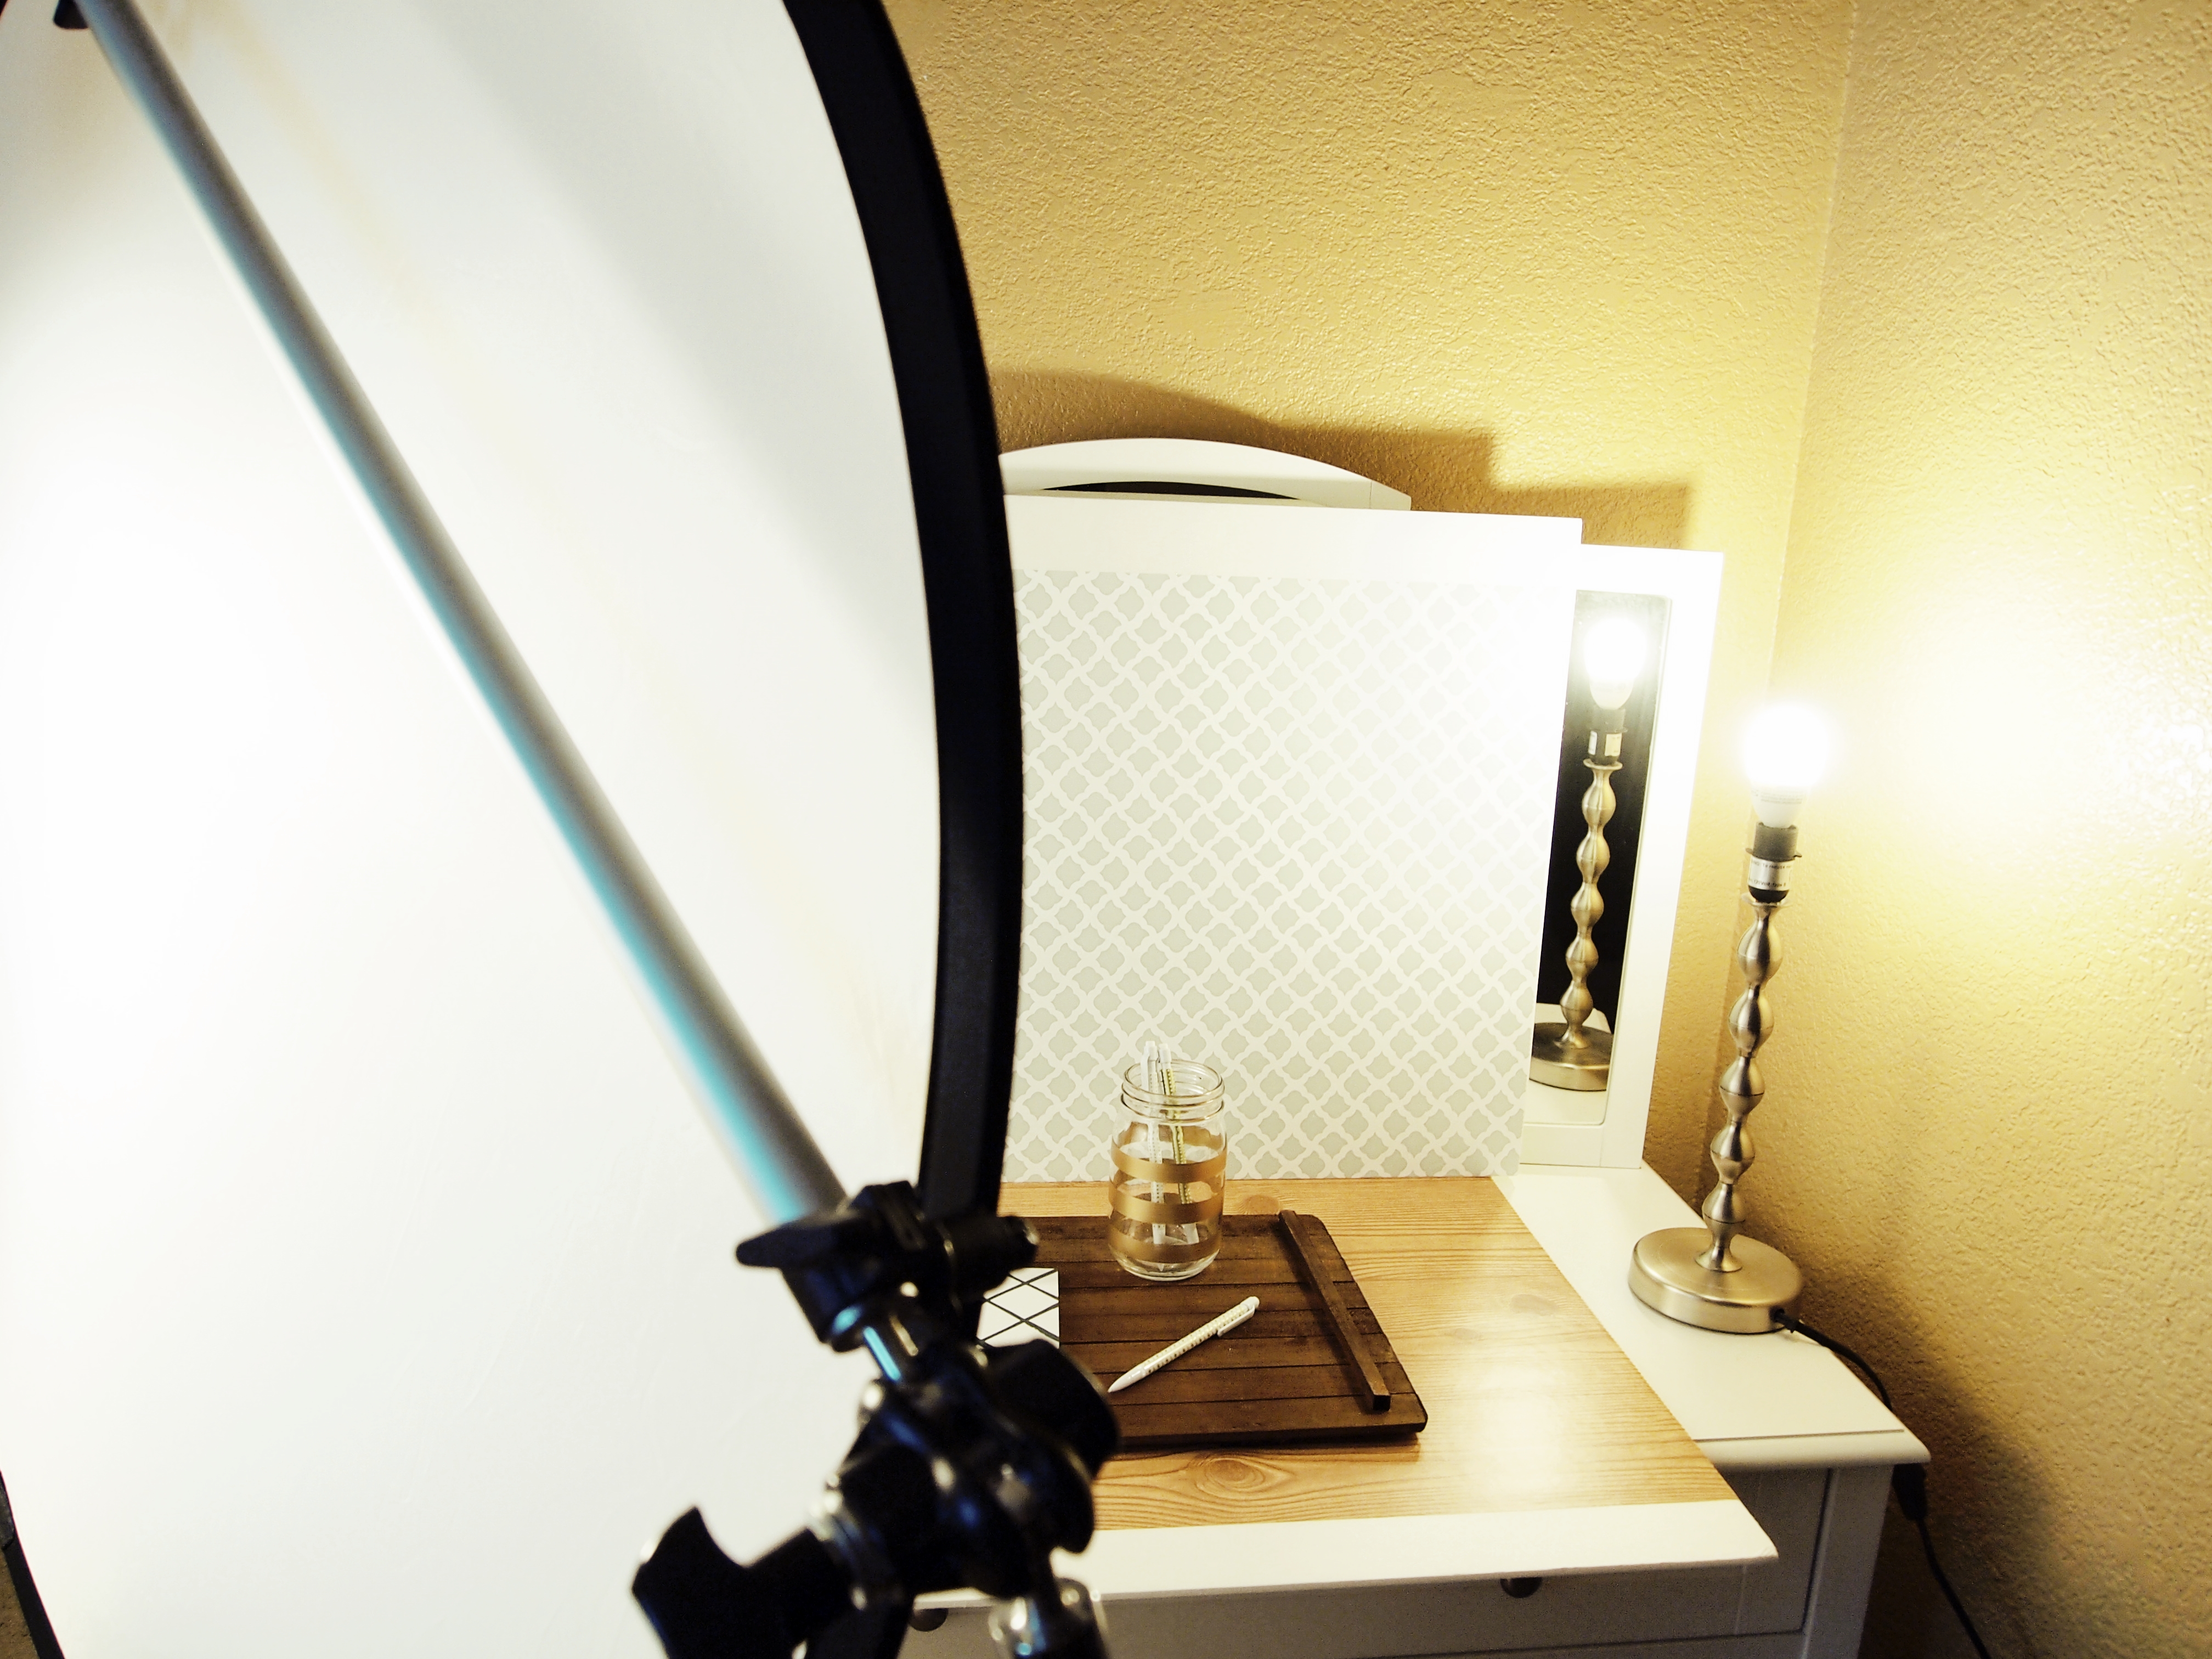
Here’s my set up. I do have a filter for my lights but you definitely don’t need that either. One of my lamps is just really bright, so I like to defuse it a bit so there’s less glare on the shiny objects like the mason jar.
The finished products using the photo background:
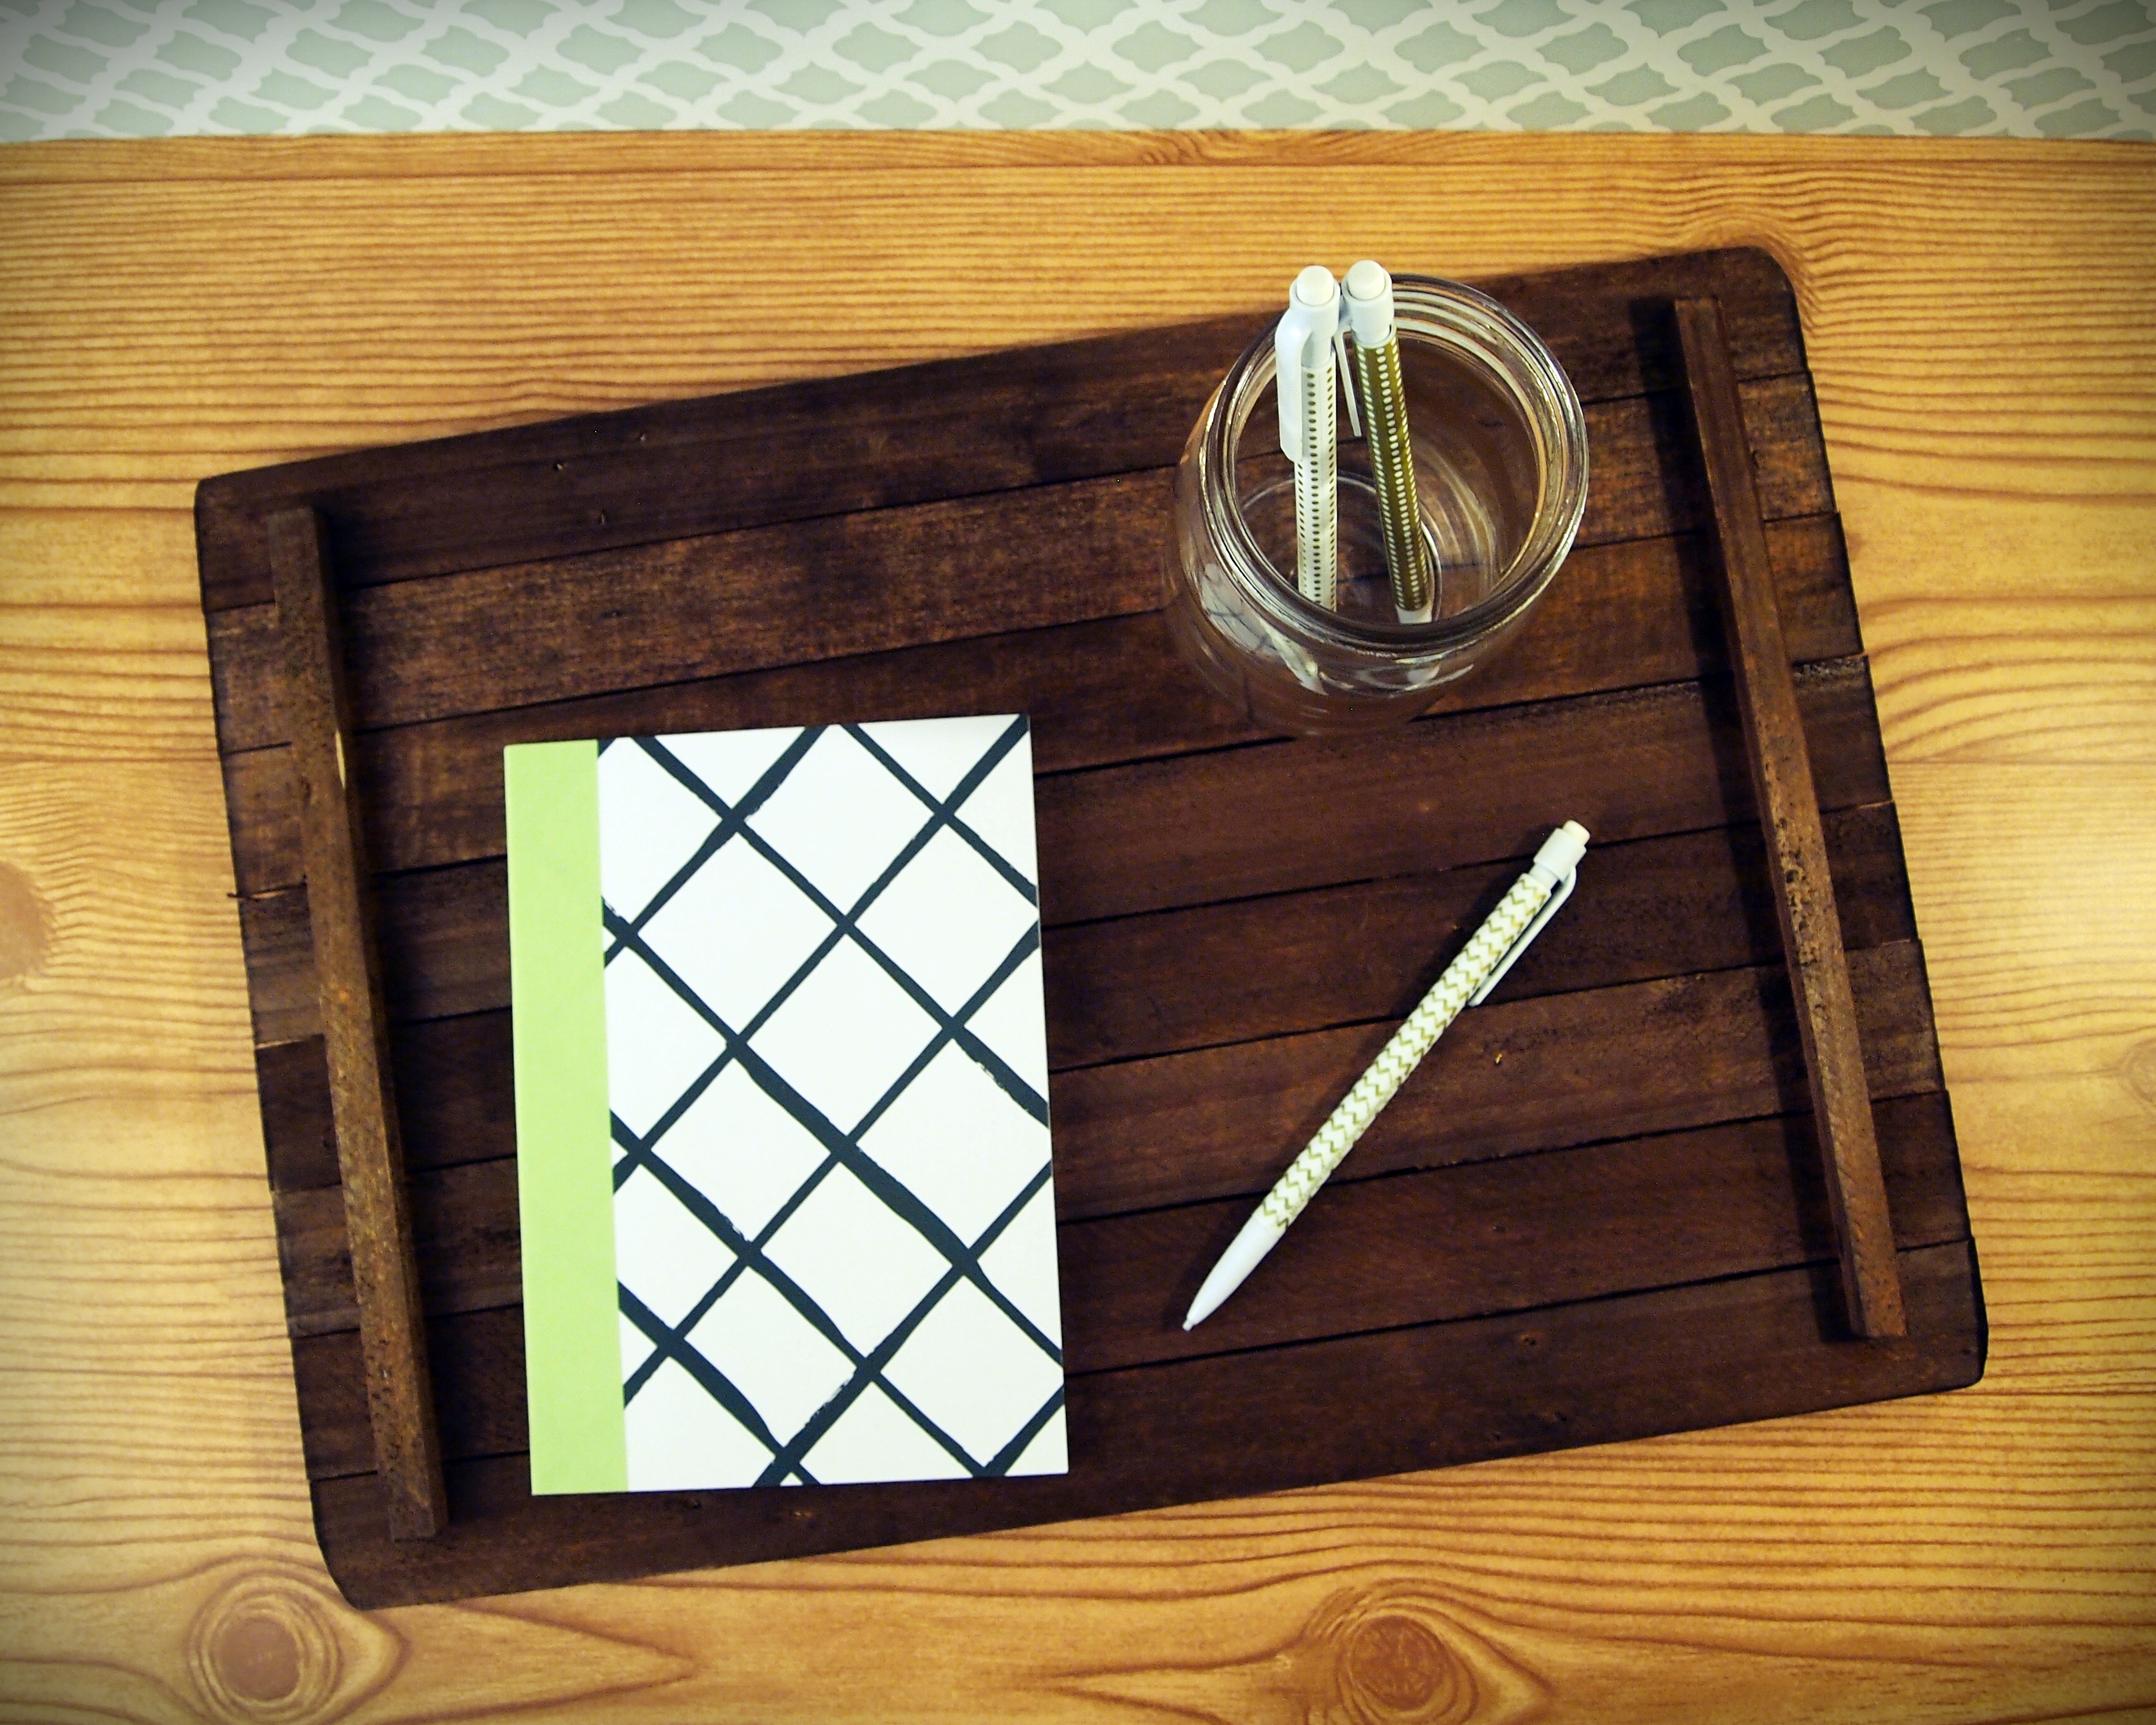
Finished product #1
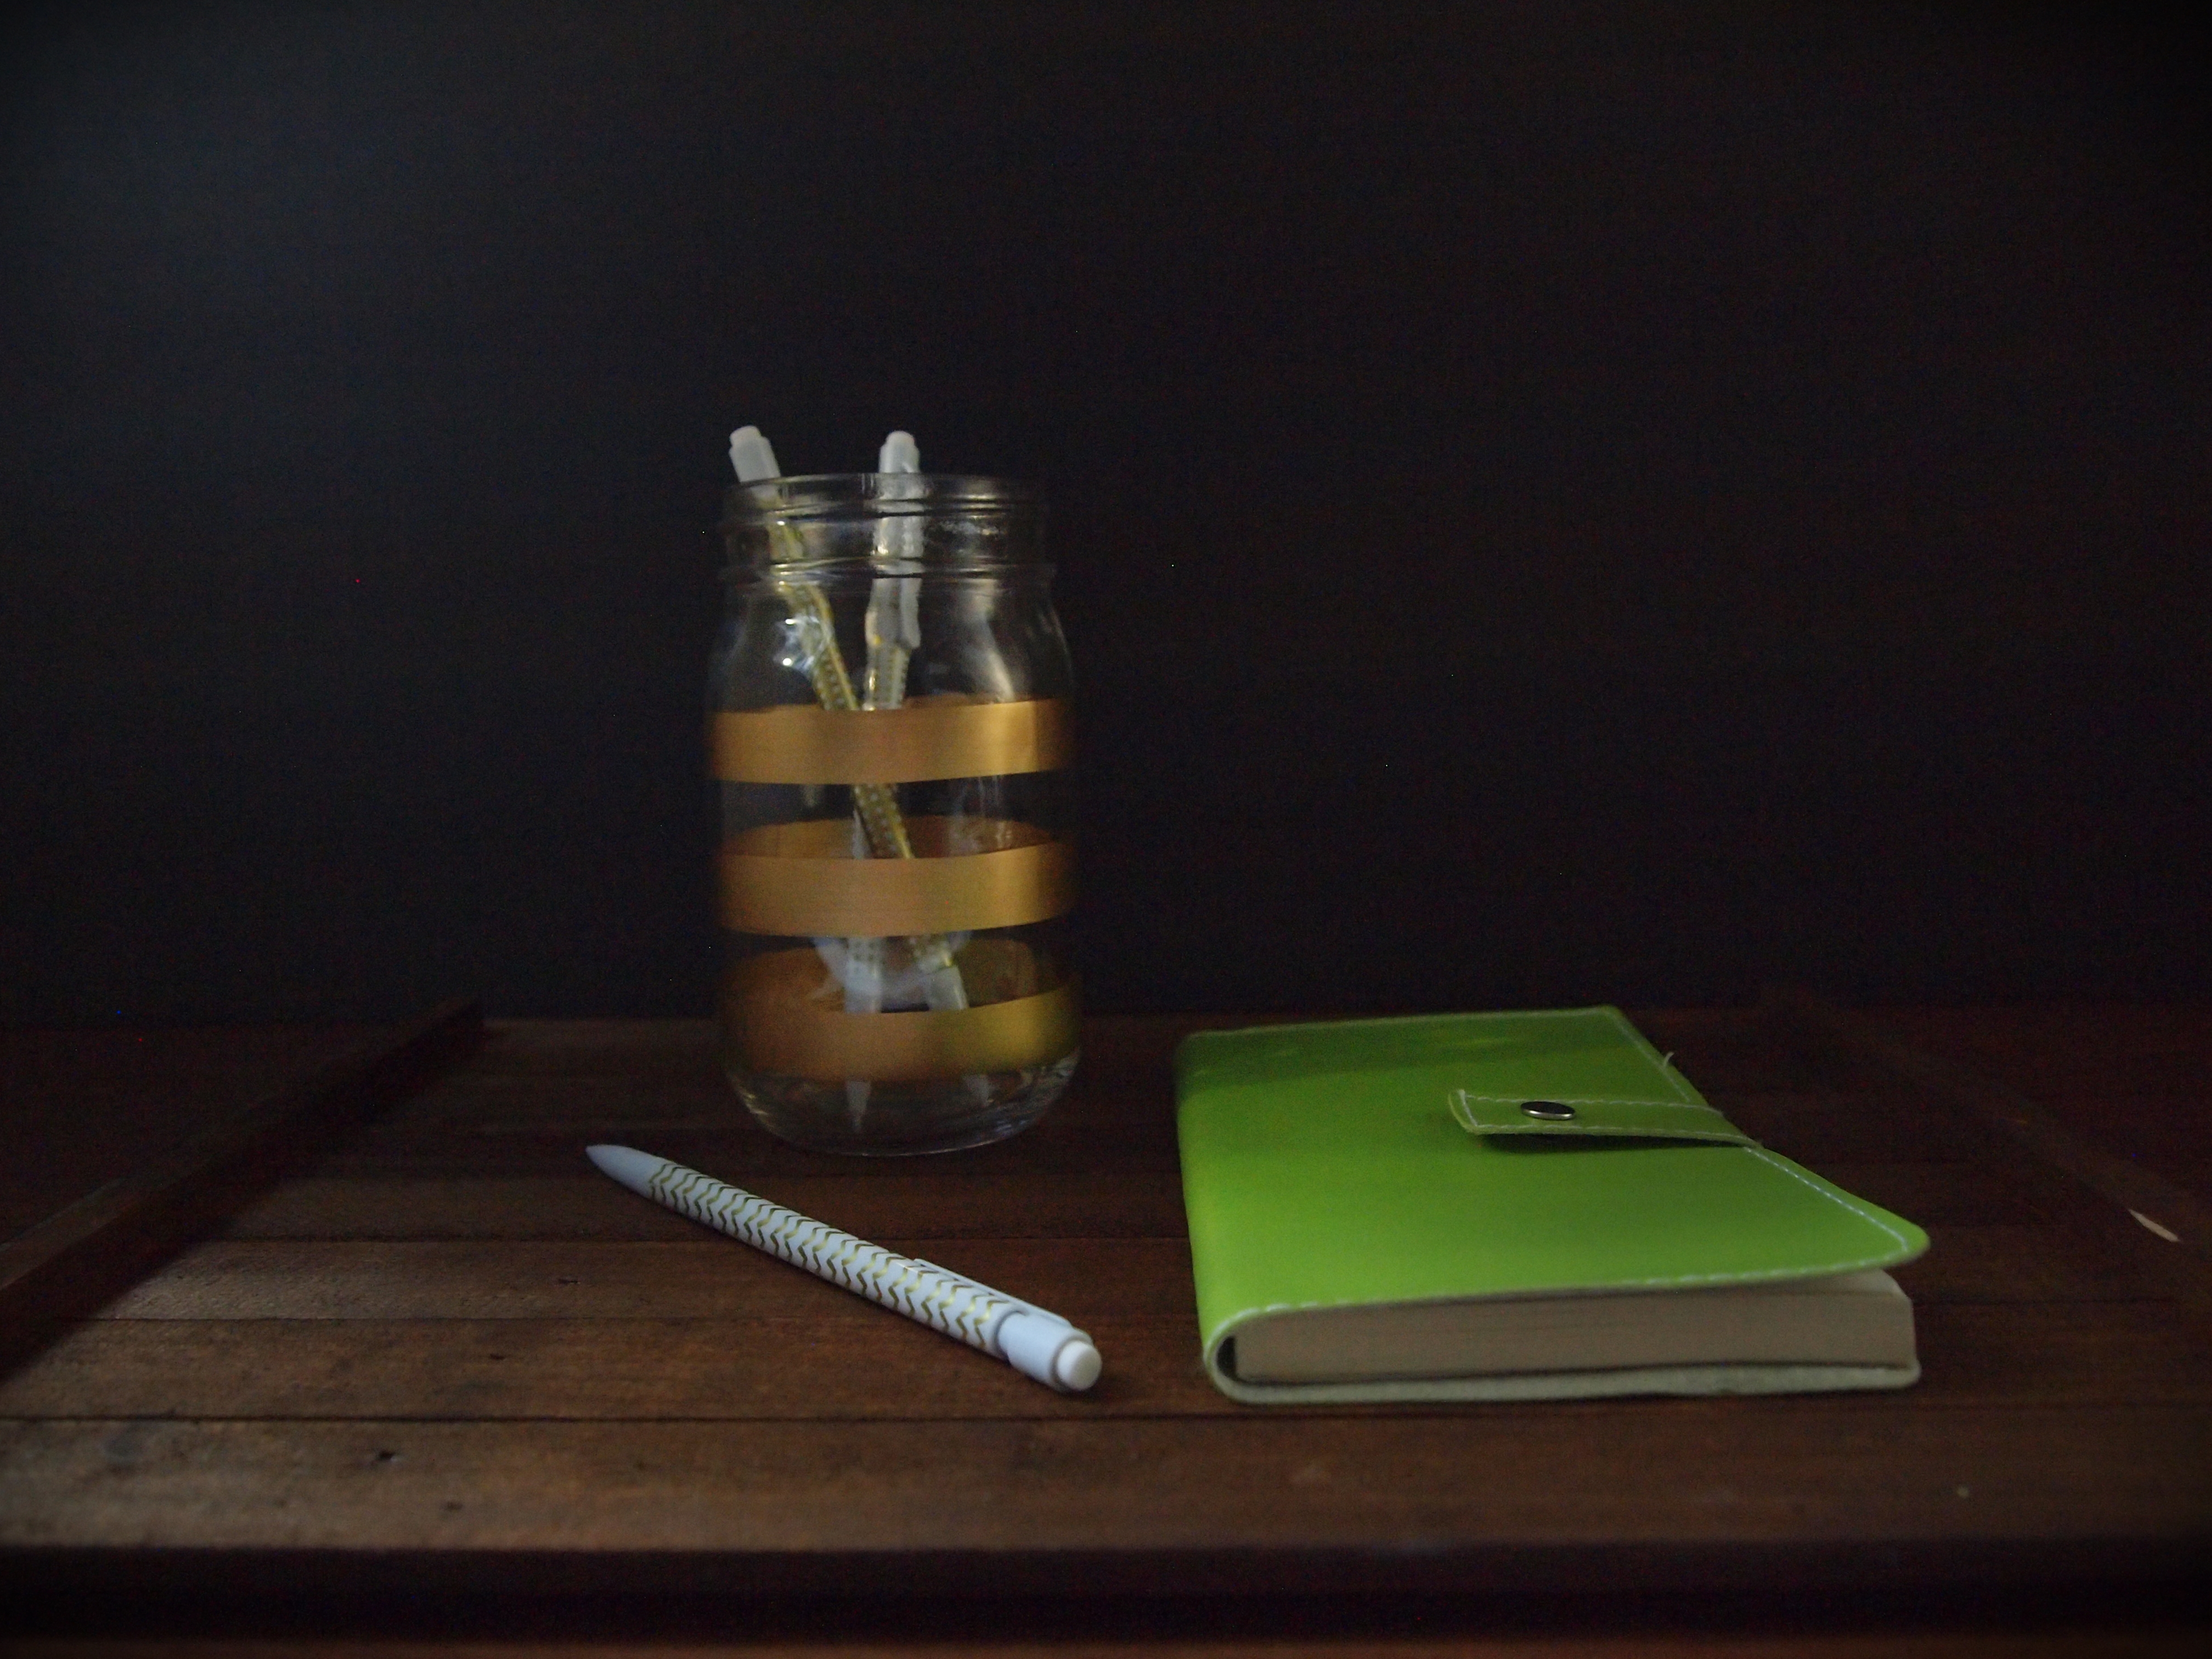
Finished product #2. I am in love with the moodiness of this one 🙂
Since I’m not the only person in the blogging world to make their own backdrops (plus I have a lot to learn), I’ve assembled some links to other great blogs that share similar (or dare I say better) ideas.
check out :
The Nectar Collective for 5 more ideas
A Girl Obsessed for more backdrop ideas
The Recipe girl has painted and stained wood ideas
Click it up a notch shows great tips specifically for instagram
Iheart faces has awesome portrait backdrops to try
Get to it and try creating your own photo background on your own for $10 or less and definitely let me know how it goes.

Included Free:
550+ Templates, Photos, & Strategies
Get New Free Downloads Monthly
Unlimited Downloads
Special offers & Trends Newsletter
Save and sort your favorites
Access 500+ Free Templates, Photos, & Strategies With A Free Account
Free User Creation for Popup
By creating an account, I agree to Ivory Mix's Website terms, Privacy Policy and Licensing Terms
Already have an account? Log in
2 Comments
Leave a Comment
You must be logged in to post a comment.






Wow such good ideas! thanks for this, will be trying them out for myself very soon
I’m glad Marleen! They’ll come in handy.